In this tutorial, we will explore how to extract color palettes from images captured via a webcam using Node.js, GridDB, and OpenAI. By leveraging Node.js for server-side scripting, GridDB for efficient data storage, and OpenAI for advanced image processing, we will create a seamless pipeline to capture images, analyze them, and generate dynamic color palettes. This guide will walk you through setting up your environment, capturing images from your webcam, and using AI to extract and store color data effectively.
Prerequisites
Before we dive in, ensure the following software is installed on your machine:
- Node.js
- GridDB
- OpenAI API access
- Browser with a webcam access
Running The Project
Clone the source code from this GitHub repository.
git clone https://github.com/griddbnet/Blogs.git --branch color-extractionThis project also needs to install Node.js and GridDB for this project to run. If the software requirements are installed, change the directory to the apps project directory and then install all the dependencies:
cd color-detection-openai
cd apps
npm install
Create a .env file and copy all environment variables from the .env.example file. We need an OpenAI key for this project, please look in the “Getting Started” section to get started.
OPENAI_API_KEY=sk-proj-secret
VITE_APP_URL=http://localhost:3000
You can change the VITE_APP_URL to your needs and then run the project by running this command:
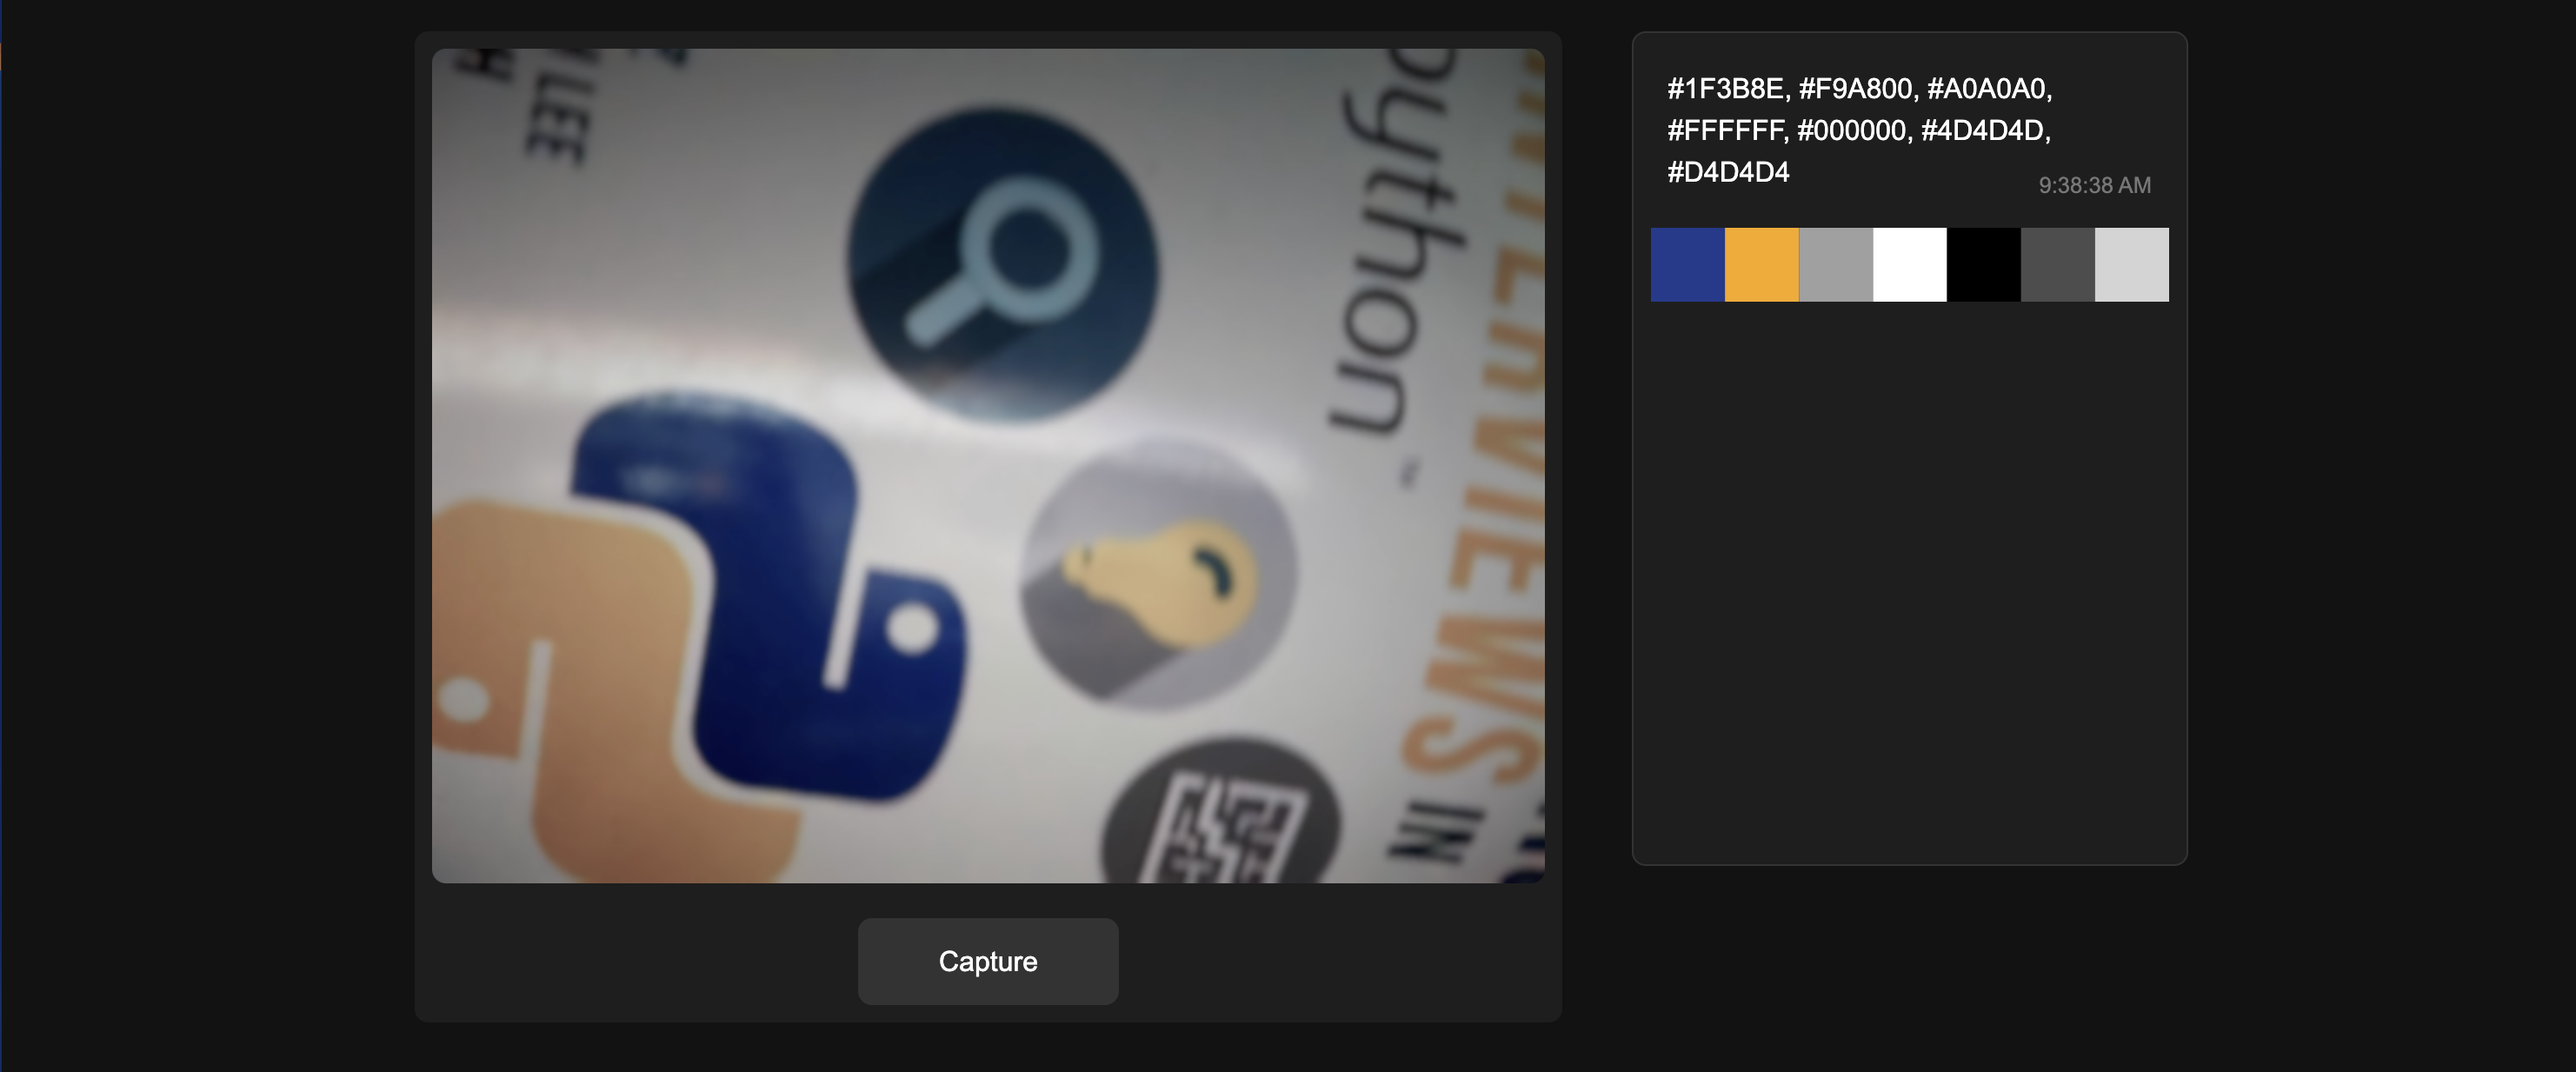
npm run start:buildGo to the browser and enter the URL set on VITE_APP_URL, which in this case is http://localhost:3000. Make sure to enable the webcam in your browser, then click the Capture button to take a photo using the web camera.
Setting Up the Environment
1. Installing Node.js
This project will run on the Node.js platform. You need to install it from here. For this project, we will use the nvm package manager and Node.js v16.20.2 LTS version.
# installs nvm (Node Version Manager)
curl -o- https://raw.githubusercontent.com/nvm-sh/nvm/v0.39.7/install.sh | bash

# download and install Node.js
nvm install 16

# verifies the right Node.js version is in the environment
node -v # should print `v16.20.2`

# verifies the right NPM version is in the environment
npm -v # should print `8.19.4``
To connect Node.js and GridDB database, we need the gridb-node-api npm package which is a Node.js binding developed using GridDB C Client and Node addon API.
2. Setting Up GridDB
We will use the GridDB database to save recipes and it’s nutrition analysis. Please look at the guide for detailed installation. We will use Ubuntu 20.04 LTS here.
Run GridDB and check if the service is running. Use this command:
sudo systemctl status gridstoreIf not running try to run the database with this command:
sudo systemctl start gridstore3. Get The OpenAI Key
To get the OpenAI key, create a project first and then create a key. The important thing is you should save the OpenAI key on the .env file and ensure not to include it in version control by adding it to the .gitignore.
OPENAI_API_KEY=sk-proj-secretAnother crucial factor is to select models that are accessible for the project. For this project, we will utilize gpt-4o models for image recognition and extracting colors from the image.
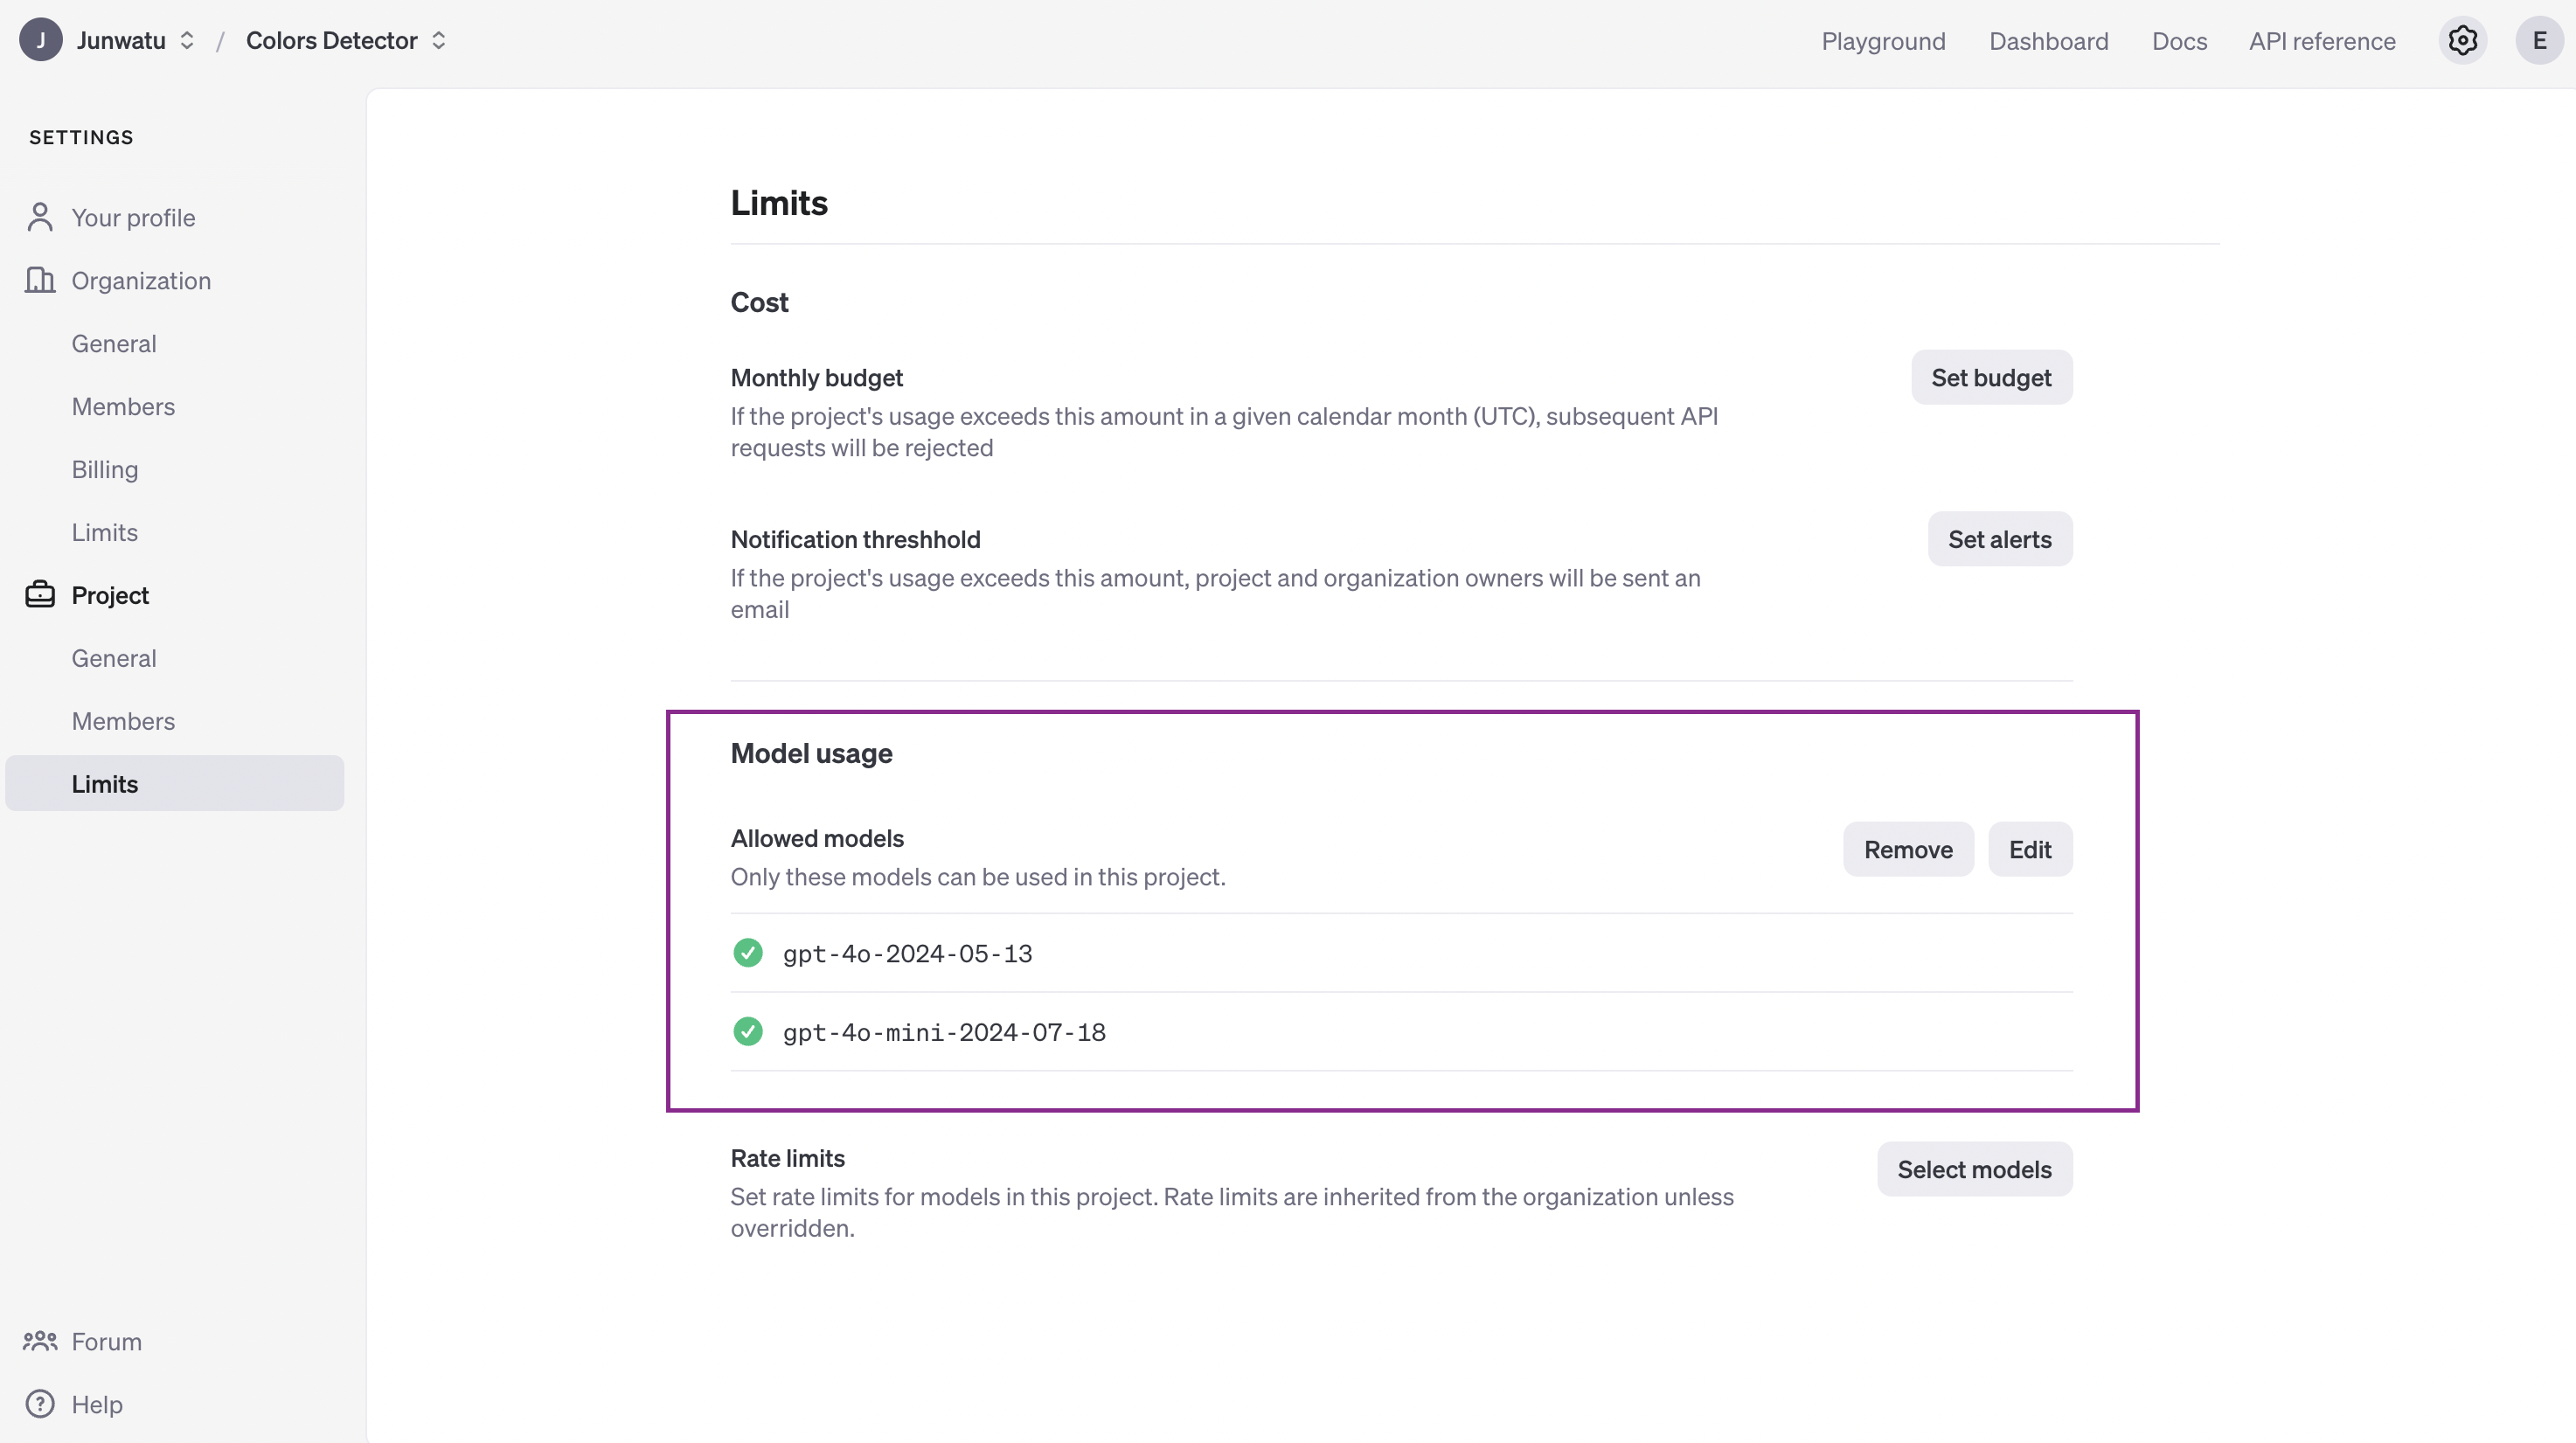
The AI model’s response is non-deterministic, which means sometimes the response is not exactly what we want. By default this project uses the gpt-4o-mini model, in case the response is not quite right, you can change it to a more powerful model, such as the gpt-4o model.
Capturing Images with MediaStream
To capture images, we can use MediaStream API. It is an API related to WebRTC which provides support for streaming audio and video data. Before capturing an image from the web camera, we first need to initialize the web camera:
const initializeWebcam = () => {
    navigator.mediaDevices.getUserMedia({
            video: true
        })
        .then(stream => {
            videoRef.current.srcObject = stream
        })
        .catch(error => {
            console.error('getUserMedia error:', error)
        })
}
And then to capture the image from the video, we can use the drawImage() function:
const captureImage = () => {
    const context = canvasRef.current.getContext('2d')
    context.drawImage(videoRef.current, 0, 0, canvasRef.current.width, canvasRef.current.height)

    const base64Image = canvasRef.current.toDataURL('image/jpeg')
    processImage(base64Image)
}
The drawImage() function will capture the current frame from the video stream and render it onto the canvas. This allows for further image data manipulation, processing, or conversion. In the provided code, the drawn image on the canvas is converted to a base64-encoded string using the toDataURL() function, which is then sent to a server for processing.
Processing Images with OpenAI
The image processing on the server is quite simple. The web app will send a base64-encoded image to the /process-image route.
app.post('/process-image', async (req, res) => {
    const {
        image
    } = req.body

    if (!image) {
        return res.status(400).json({
            error: 'No image provided'
        })
    }
    // eslint-disable-next-line no-undef
    const result = await getColorAnalysis(image)
    res.json(result.choices[0])
})
Then to get the color analysis from the image, we will use the gpt-4o-mini model from OpenAI. The getColorAnalysis() function will take the base64-encoded image and then process it.
async function getColorAnalysis(base64Image) {
    const response = await openai.chat.completions.create({
        model: "gpt-4o-mini-2024-07-18",
        messages: [{
                role: "system",
                content: systemPrompt
            },
            {
                role: "user",
                content: [{
                        type: "image_url",
                        image_url: {
                            url: base64Image
                        }
                    },
                    {
                        type: "text",
                        text: userPrompt
                    }
                ]
            }
        ],
        temperature: 0.51,
        max_tokens: 3000,
        top_p: 1,
        frequency_penalty: 0,
        presence_penalty: 0,
    });

    return response;
}
OpenAI’s model response is determined by the prompt given. For a color analysis, use the specific prompt:
const userPrompt = "Extract the seven most prominent colors from the provided image. Use color clustering techniques to identify and present these colors in Hex values. Answer with the raw array values ONLY. DO NOT FORMAT IT.";We can get a better result by adding a system prompt to the OpenAI model. This system prompt behaves like a command for the OpenAI model to behave for a specific persona, which is a professional color analyst.
const systemPrompt = `You are an AI specialized in colorimetry, the science and technology of color detection and measurement. You possess deep knowledge of the principles of color science, including color spaces, color matching functions, and the use of devices such as spectrophotometers and colorimeters. You provide accurate and detailed analyses of color properties, offer solutions for color consistency issues, and assist in applications ranging from imaging and printing to manufacturing and display technologies. Use your expertise to answer questions, solve problems, and provide color detection and measurement guidance.`;The prompt can also specify the model format response. In this project, we want the array of colors from the image colors analysis. The OpenAI model response should be in the form:
['#2A2C9B', '#F08A7D', '#8E5DB2', '#E8A1A3', '#4D3B9E', '#7F3C8F', '#B57AB3']Where each item in the array is a color in the hex format.
Storing Data in GridDB
We utilize the GridDB database for data storage. Here are the main data fields along with their descriptions:
| Column Name | Type | Description |
|---|---|---|
| id | INTEGER | Unique identifier for each row. |
| picture | BLOB | Base64 image encoding. |
| colors | STRING | List of colors in Hex format. |
The saveData() function is a wrapper for the insert() function in the libsgriddb.cjs file. It is responsible for saving data into the database. Only two main fields are saved in the database.
export async function saveData({ image, genColors }) {
    const id = generateRandomID()
    const picture = Buffer(image)
    const colors = String(genColors)

    const packetInfo = [parseInt(id), picture, colors]
    const saveStatus = await GridDB.insert(packetInfo, collectionDb)
    return saveStatus
}
The save data function will be executed on the server route /process-image after the color analysis of the image. Every time a user captures an image, it will be automatically sent to the server and the resulting data will be saved to the database.
app.post('/process-image', async (req, res) => {
    const { image } = req.body

    if (!image) {
        return res.status(400).json({ error: 'No image provided' })
    }

    // eslint-disable-next-line no-undef
    const result = await getColorAnalysis(image)
    const colorsArray = result.choices[0].message.content

    // save data to the database
    const saveStatus = await saveData(image, colorsArray)
    console.log(saveStatus)

    res.json(result.choices[0])
})
Building User Interfaces
The UI comprises two primary user interfaces: image capture and color palettes. React.js is utilized in this project to improve component management.
Image Capture
The image capture user interface is simply an HTML5 video view. This is the snippet code that shows the main HTML tags used:
// WebcamContainer.js
const WebcamContainer = ({ onColorsExtracted }) => {
const captureImage = () => {
const context = canvasRef.current.getContext('2d')
context.drawImage(videoRef.current, 0, 0, canvasRef.current.width, canvasRef.current.height)
const base64Image = canvasRef.current.toDataURL('image/jpeg')
processImage(base64Image)
}
// code processing here
return (
)
}
export default WebcamContainerWhen you click the Capture button the captureImage() function will capture the image on a specific video frame and send it for further processing. The full source code for the image capture user interface is in the WebcamContainer.jsx file.
Color Palettes
The color palette UI can be created using a series of dynamically colored svg rectangles.
// eslint-disable-next-line react/prop-types
const ColorRectangles = ({ colors }) => {
return (
)
}
export default ColorRectanglesFor example, if the colors array data is:
['#4B8B3B', '#C4B600', '#7D7D7D', '#E3D4A0', '#2E2E2E', '#F6F1D3', '#A6A6A6']Then the colors will be rendered on the web as the screenshot below:
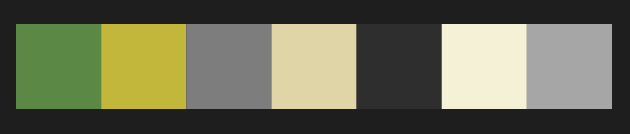
Server Routes
The are four server routes to handle the client request.
POST /process-image
Process an image for color analysis.
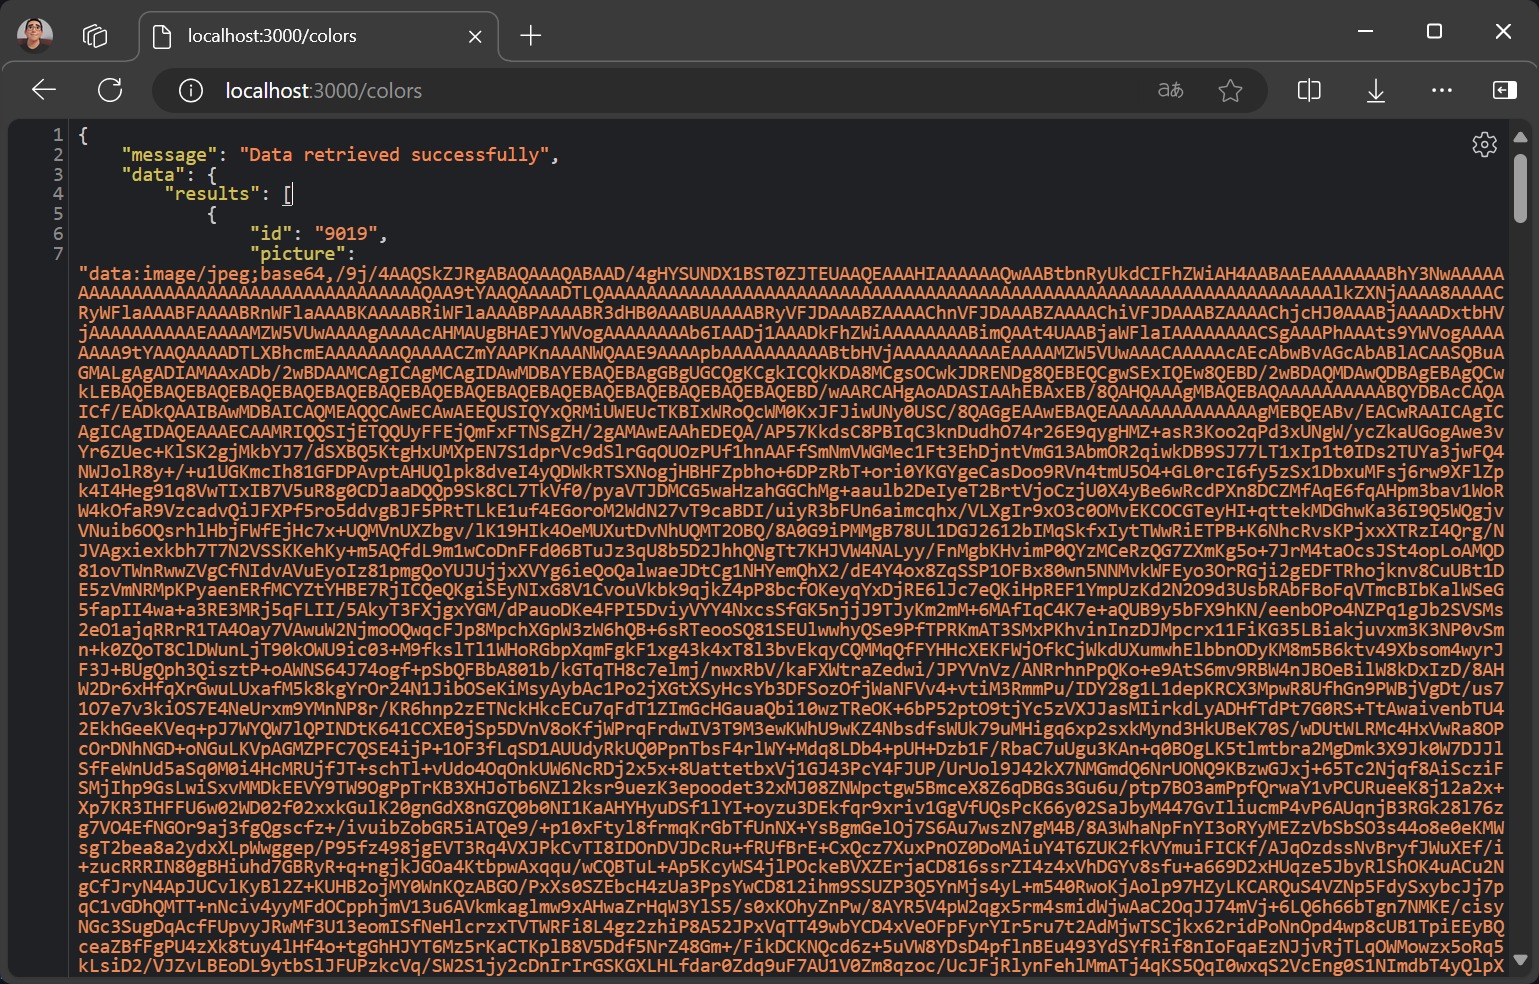
GET /colors
The /colors route will retrieve all data from the database.
GET /colors/:id
Retrieve stored color data based on the ID.
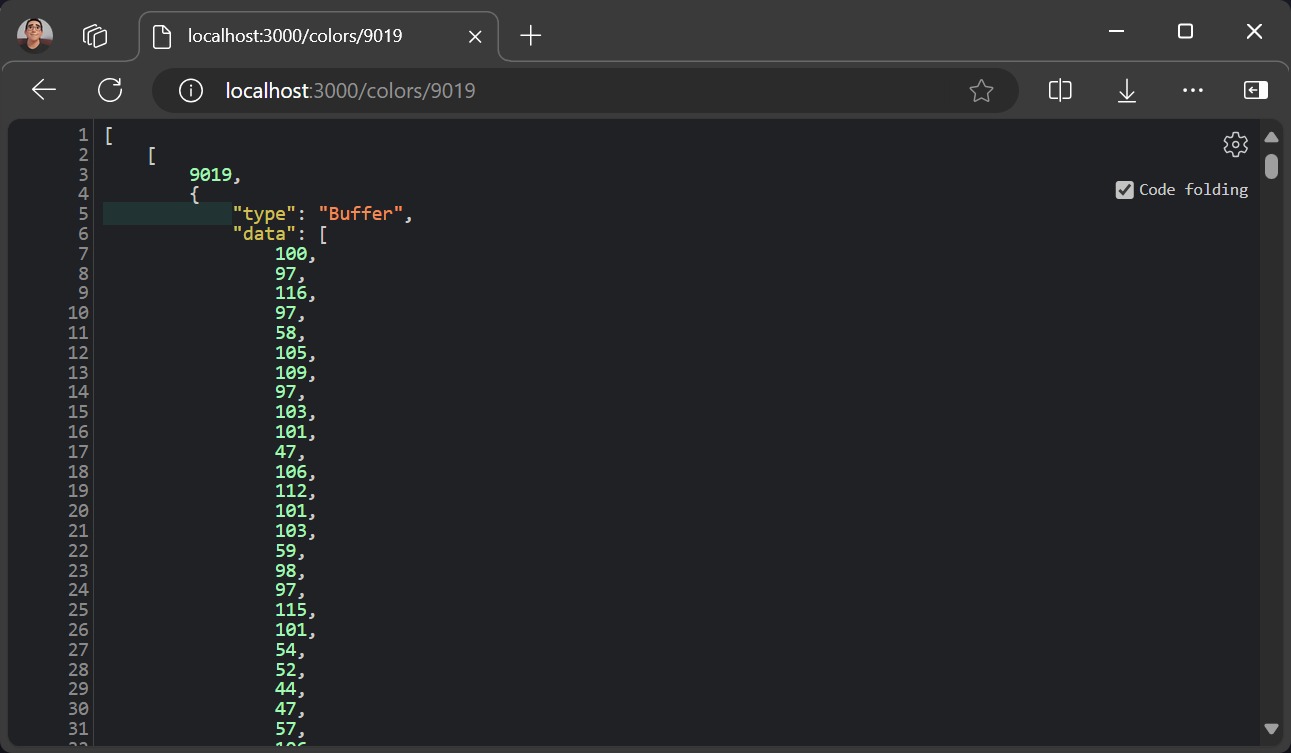
The data response for the picture field is a Buffer type so to process it in the browser, we need to change it into a readable format first.
/**
 * Extracting the buffer data
 * Assume the result data name is jsonData
 */
const bufferData = jsonData[0][1].data;

// Converting buffer data to Uint8Array object
const uint8Array = new Uint8Array(bufferData);

// Converting Uint8Array to UTF-8 string
const utf8String = new TextDecoder('utf-8').decode(uint8Array);

console.log(utf8String);
GET /delete/:id
Delete specific data in the database by its ID. For example, to delete data with id 8900:
http://localhost:3000/delete/8900Tools like Postman can be used to test APIs.
SQL Data Test
To check the data in the database, we can use CLI commands. In this project, we use Ubuntu 20.04 LTS.
Login to the GridDB user:
sudo su gsadmand then type this command to enter the GridDB shell:
gs_shIn this shell, we can list all containers and run any SQL queries.
gs[public]> showcontainer
gs[public]> select * from ColorPalettes;
1 results (38ms)
gs[public]> delete from ColorPalettes where id=6609;
If you have any questions about the blog, please create a Stack Overflow post here https://stackoverflow.com/questions/ask?tags=griddb .
Make sure that you use the “griddb” tag so our engineers can quickly reply to your questions.