This article aims to be seen as supplemental to the original GridDB Cloud Quickstart Guide. In that article, we covered how to sign up for the FREE Trial version of the GridDB Cloud offering and then dived into usage via the GridDB Web API.
In this one, we want to cover signing up for GridDB Cloud via the Azure Marketplace. There are two flavors of this: the Pay-As-You-Go Plan, and the Fixed Monthly Shared instance. We will cover signing up, the pricing, and differences with the Free trial version. Usage with the Web API will not be covered as it is identical to our previous efforts; you can also use the GridDB CLI Tool to interface with these Cloud offerings as well.
The Plans (and how to pick)
Before we get into picking between Pay-As-You-Go and The fixed monthly cost plans, there is a third option: The GridDB Free Plan. I would recommend starting off with the free plan, and when your data starts to exceed the basic limit, you can then sign up for the pay as you go plan and use Toshiba Support to migrate your Free plan data over to the Pay as you go plan! It’s a very simple process.
First and foremost, to use GridDB Cloud on Azure, you will need a Microsoft Azure account. You can sign up via their website: https://azure.microsoft.com/en-us/pricing/purchase-options/azure-account.
Next, you will choose if you want to sign up for the plan which allows you to pay and scale as needed, or shoot for the fixed monthly commitment plan.

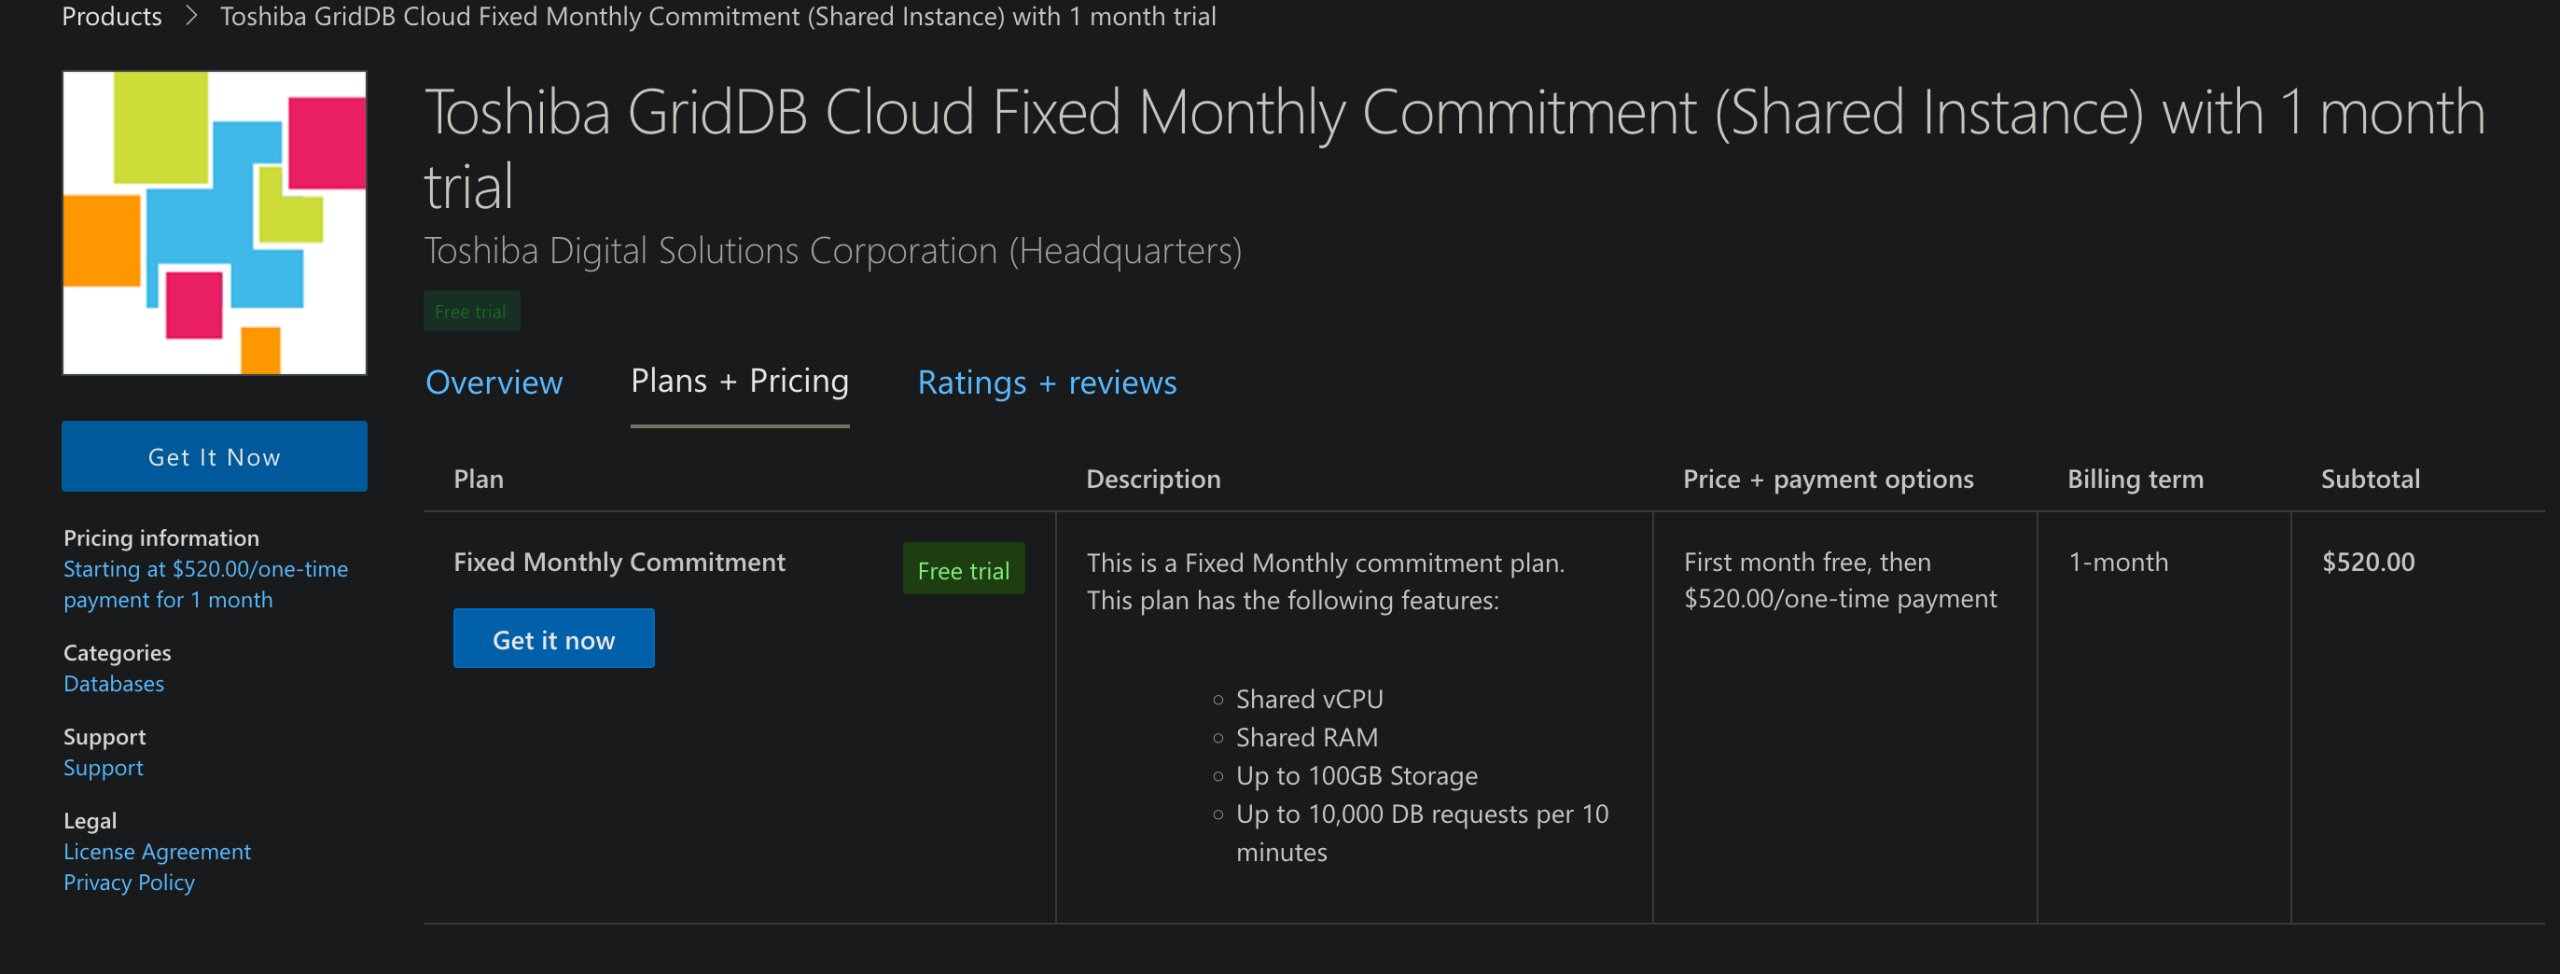
The main difference between these two instances is the pricing — with the monthly commitment you’re paying $520/month, but you won’t need to worry about possibly going over budget if you’re moving lots of data in and out or making tons of requests.
The pricing is as follows for the other plan:
So let’s try to do some quick napkin math and see what kind of scenario you’d need to be in to make the shared monthly $520 commitment the right choice.
Azure Budgeting
Before we dive into some simple math to figure out some thresholds of use for the pay-as-you-go plan, I think it’s also important to point out that Azure Marketplace does have guardrails in place to help control spending. Even if dealing with a massive budget, I implore all users to read and set an Azure Spending Limit, this can and will help ease any concerns over accidentally spending the entire month’s budget in a week — every cloud engineer’s nightmare!
Rough Cost Estimations
Let’s assume, for a baseline, that you’re storing exactly half of the maximum amount (max is 100GB, so let’s play with 50GB). At the price of $0.002/1GB/hour, that puts us at roughly $72/month on storage costs. Working from here, let’s estimate how many data transfers we need to commit to reach our soft limit.
To spend the rest of the $448 budget, let’s take a look at some scenarios. We’d need to commit ~5000GB of data through Data Out to reach our allotment. For Data In, it’s about 175GB (it costs a lot more to write to the Cloud than to read from it!).
If we wanted to do an even split between Data In and Data Out ($224 each), it’d be 2488.88GB for Data Out, 87.50GB for Data In. Requests cost are about 1,000,000 for $120, so accounting for that, we’d end up with this kind of scenario:
If your project grows to this size, it is of course recommended to commit to the $520 plan, but before that, you can comfortably use the Pay-As-You-Go Plan.
Signing Up
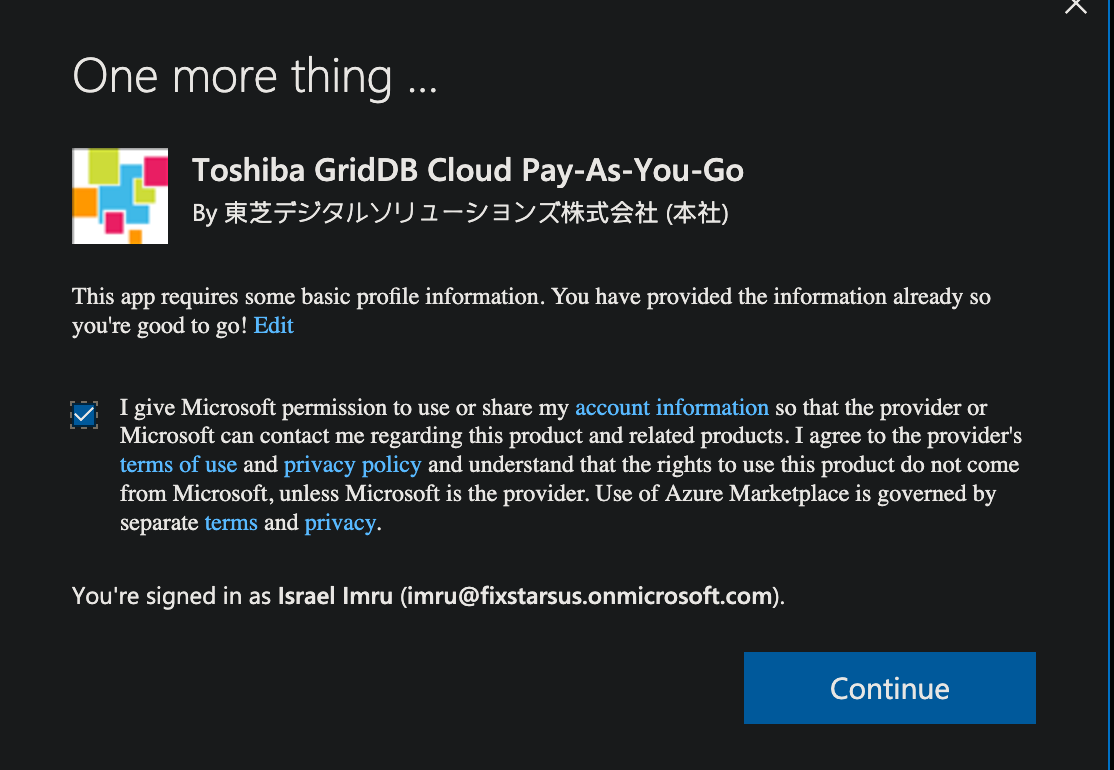
Now that you know which plan best suits you, let’s walk through that process. As mentioned above, you will need an Azure account. And now simply click on the plan you want and click Get It Now. From there, sign in. You will be greeted with a permissions ask. You must accept to continue.
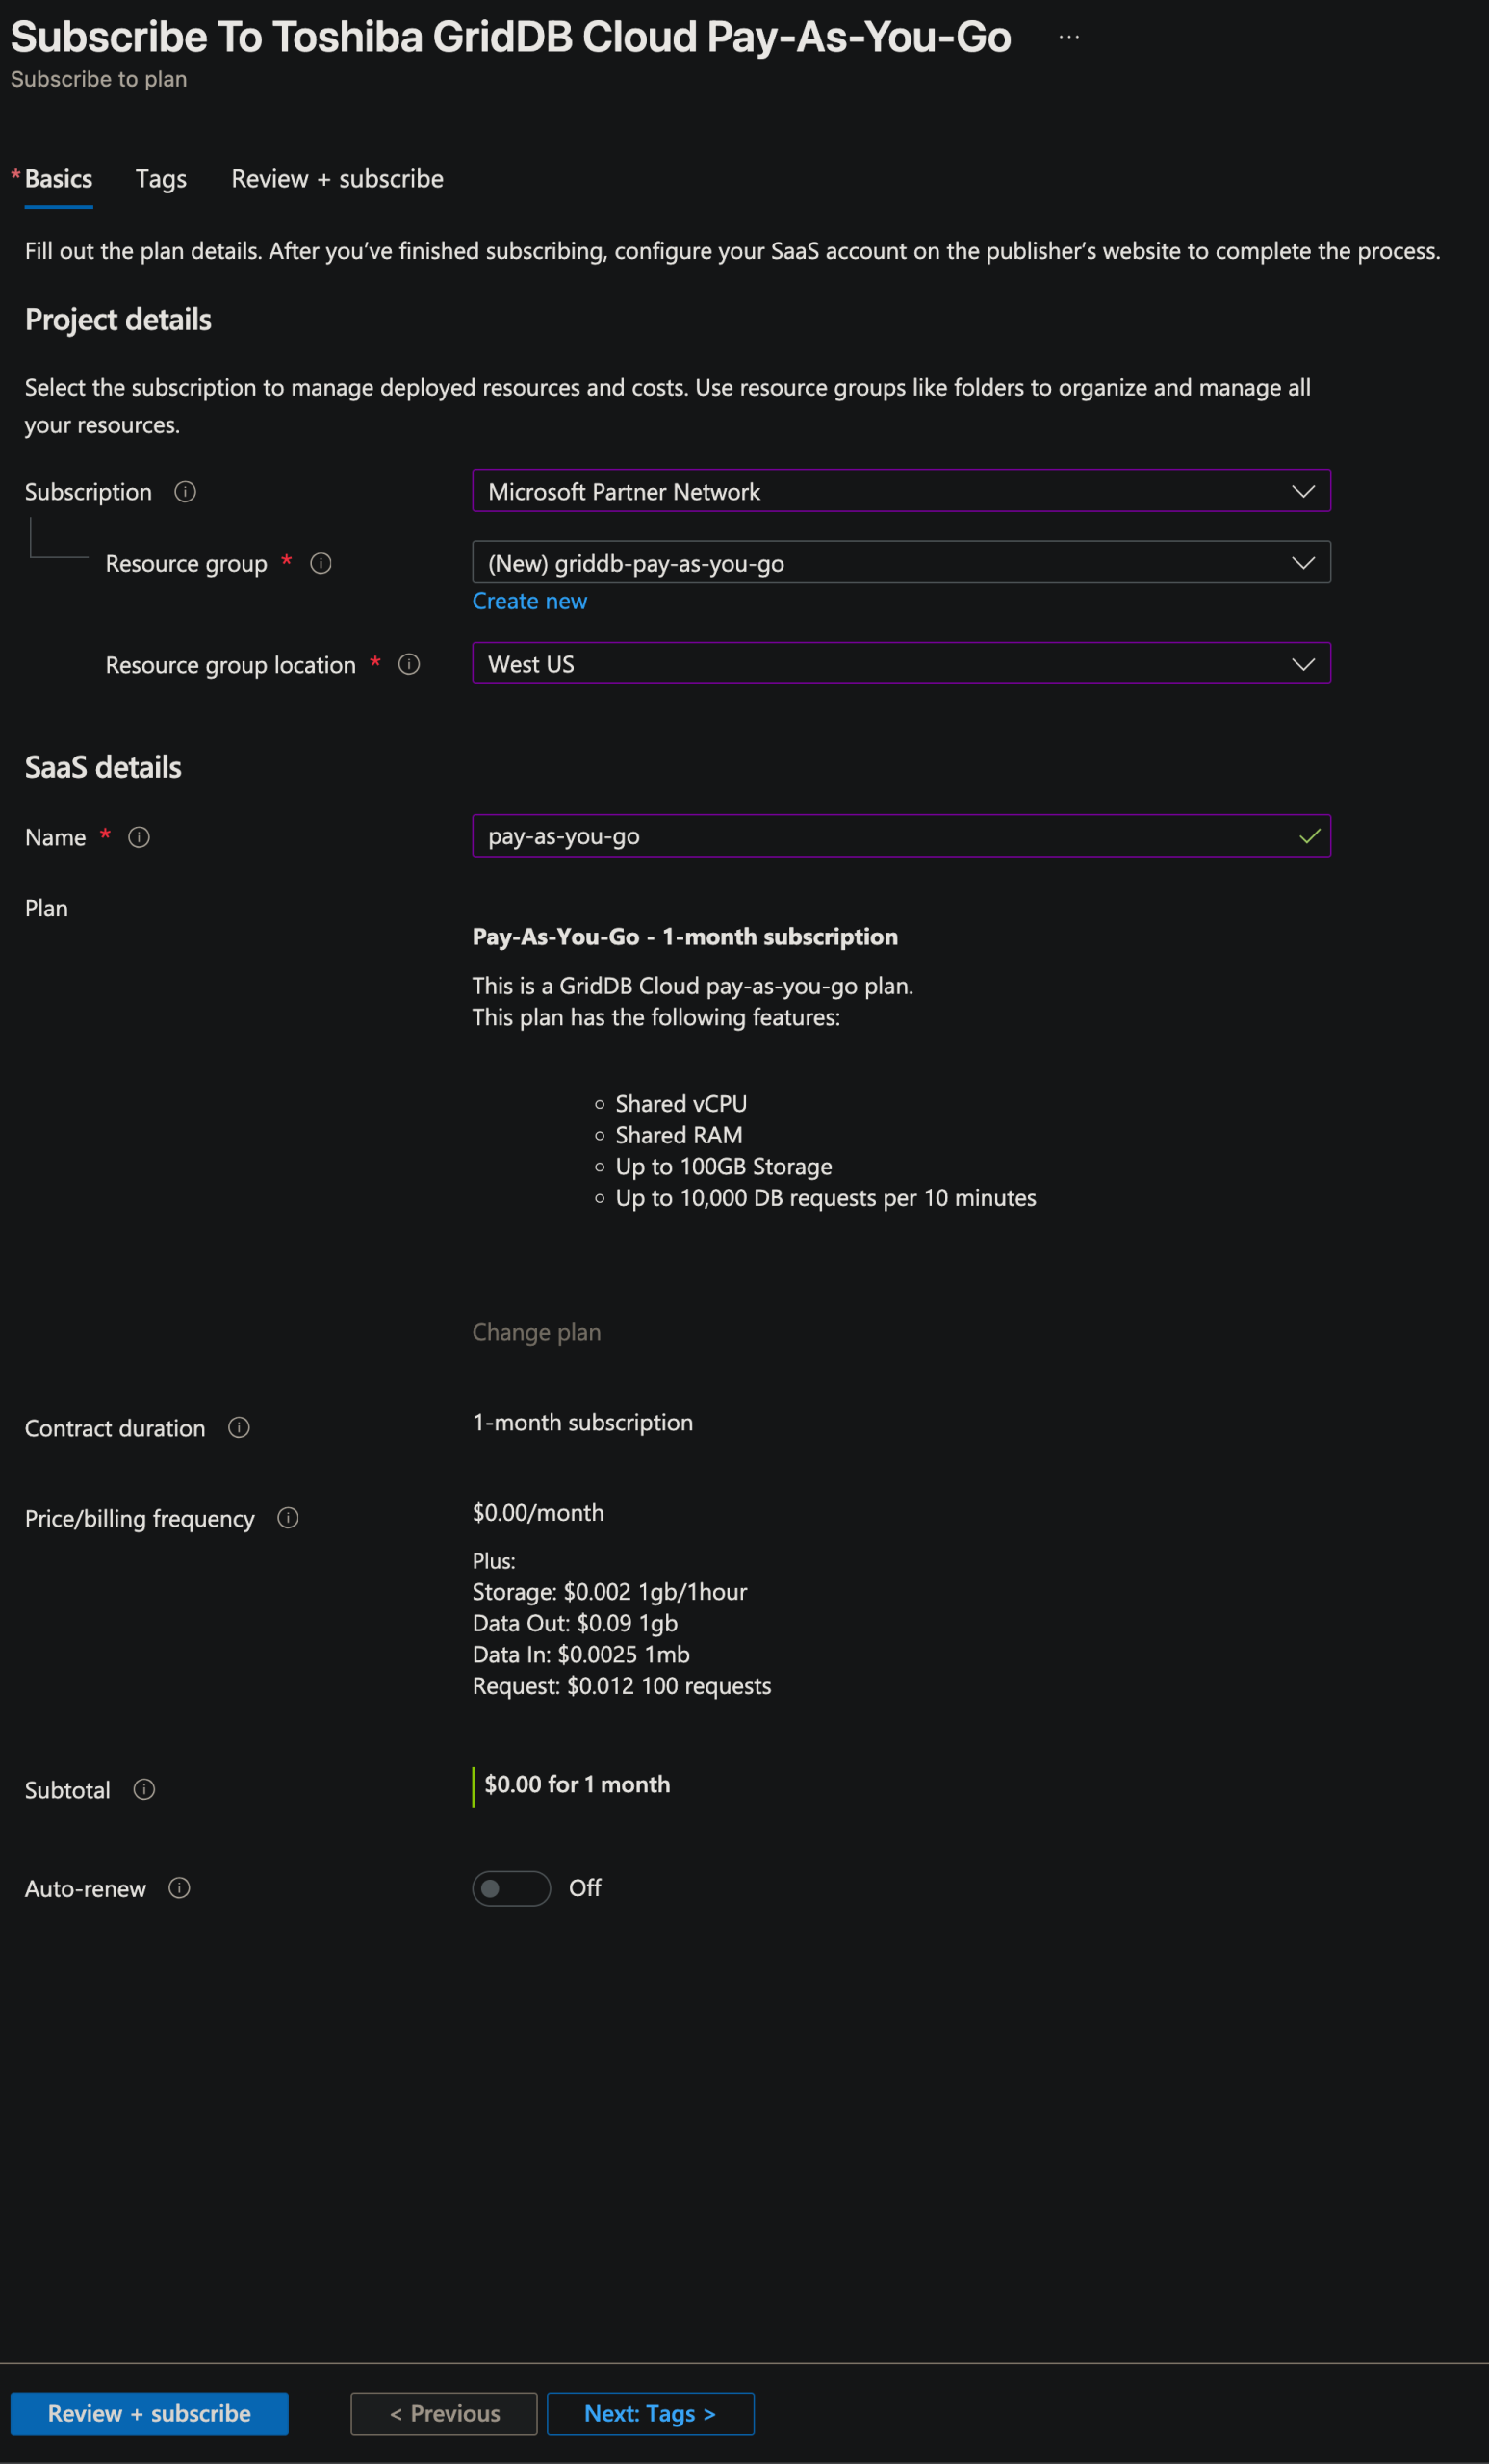
And once you accept, you are greeted with the subscribe page
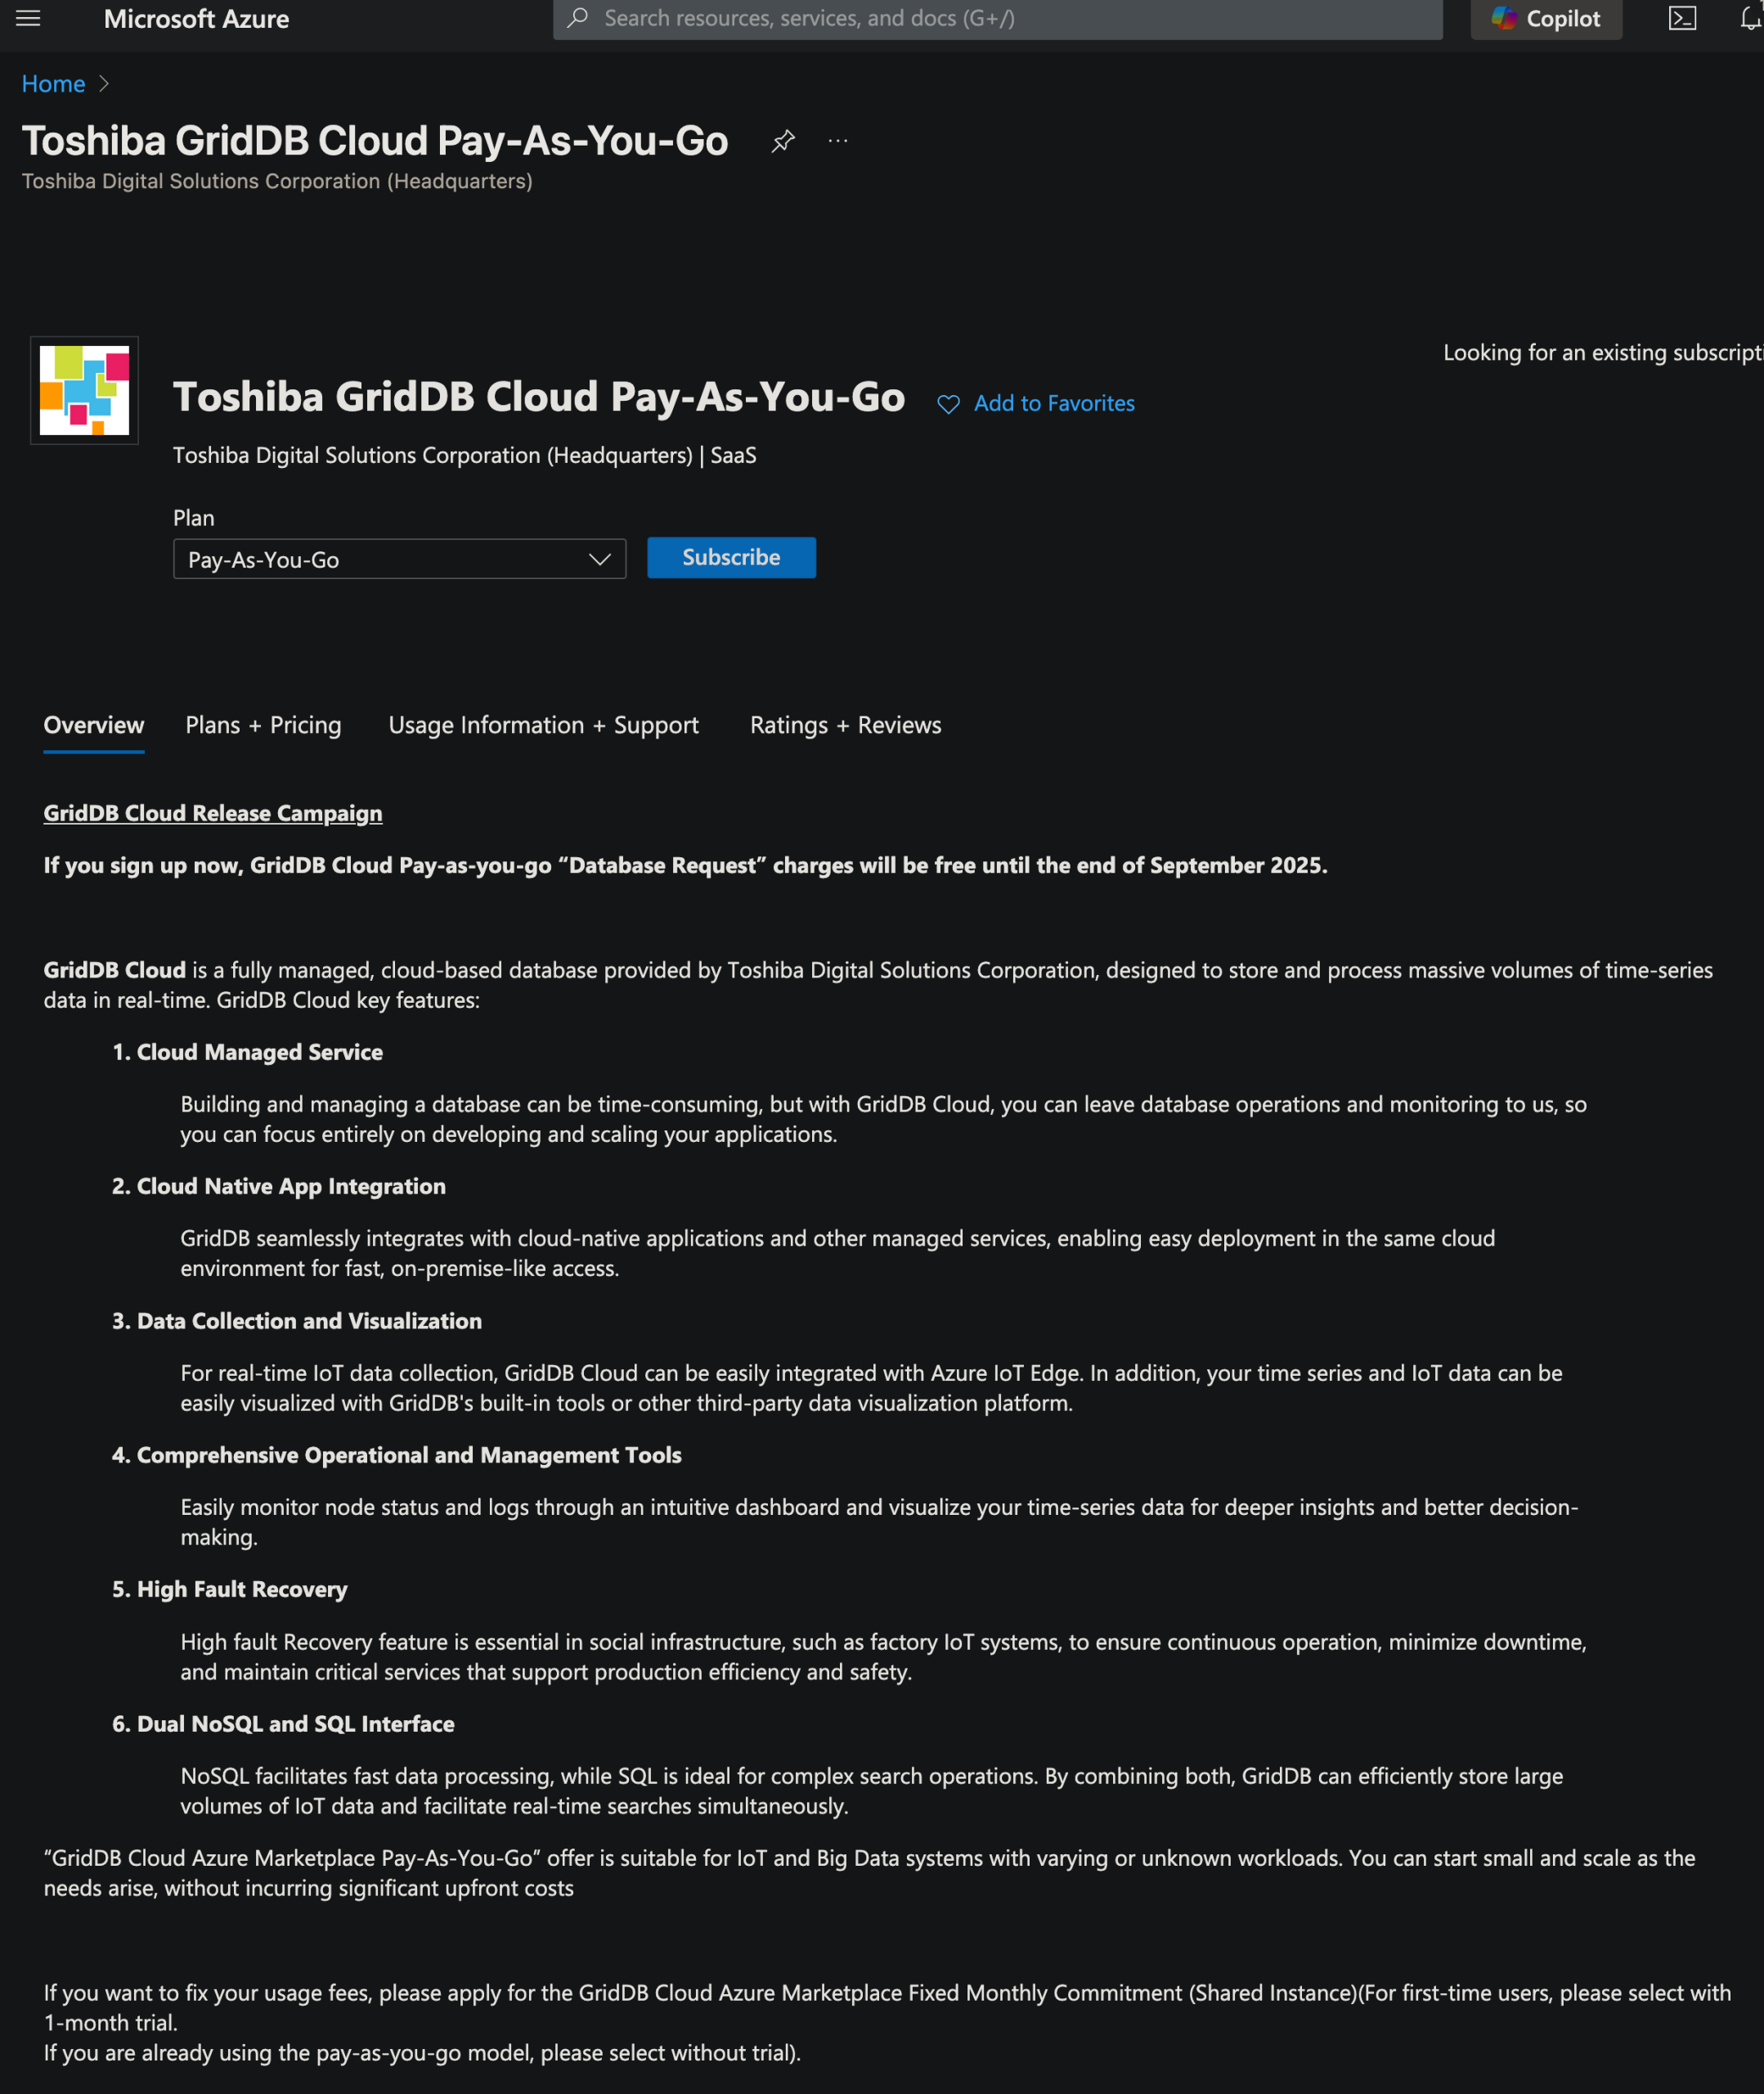
Click Subscribe to fill out your normal Azure details like resource group (you can create a new one here) and the name of your service (this is just for internal use, it can be whatever you want). Once you fill it out, just hit Review + subscribe
And once Azure provisions your instance, you are not quite done as you will also need to click configure account now, which will link you to GridDB Cloud’s subscription page. Once you sign up there, it will link back to your Azure account.
And please note, in this portion, my browser was actively hiding all pop ups from the page and so I encountered an error like so:
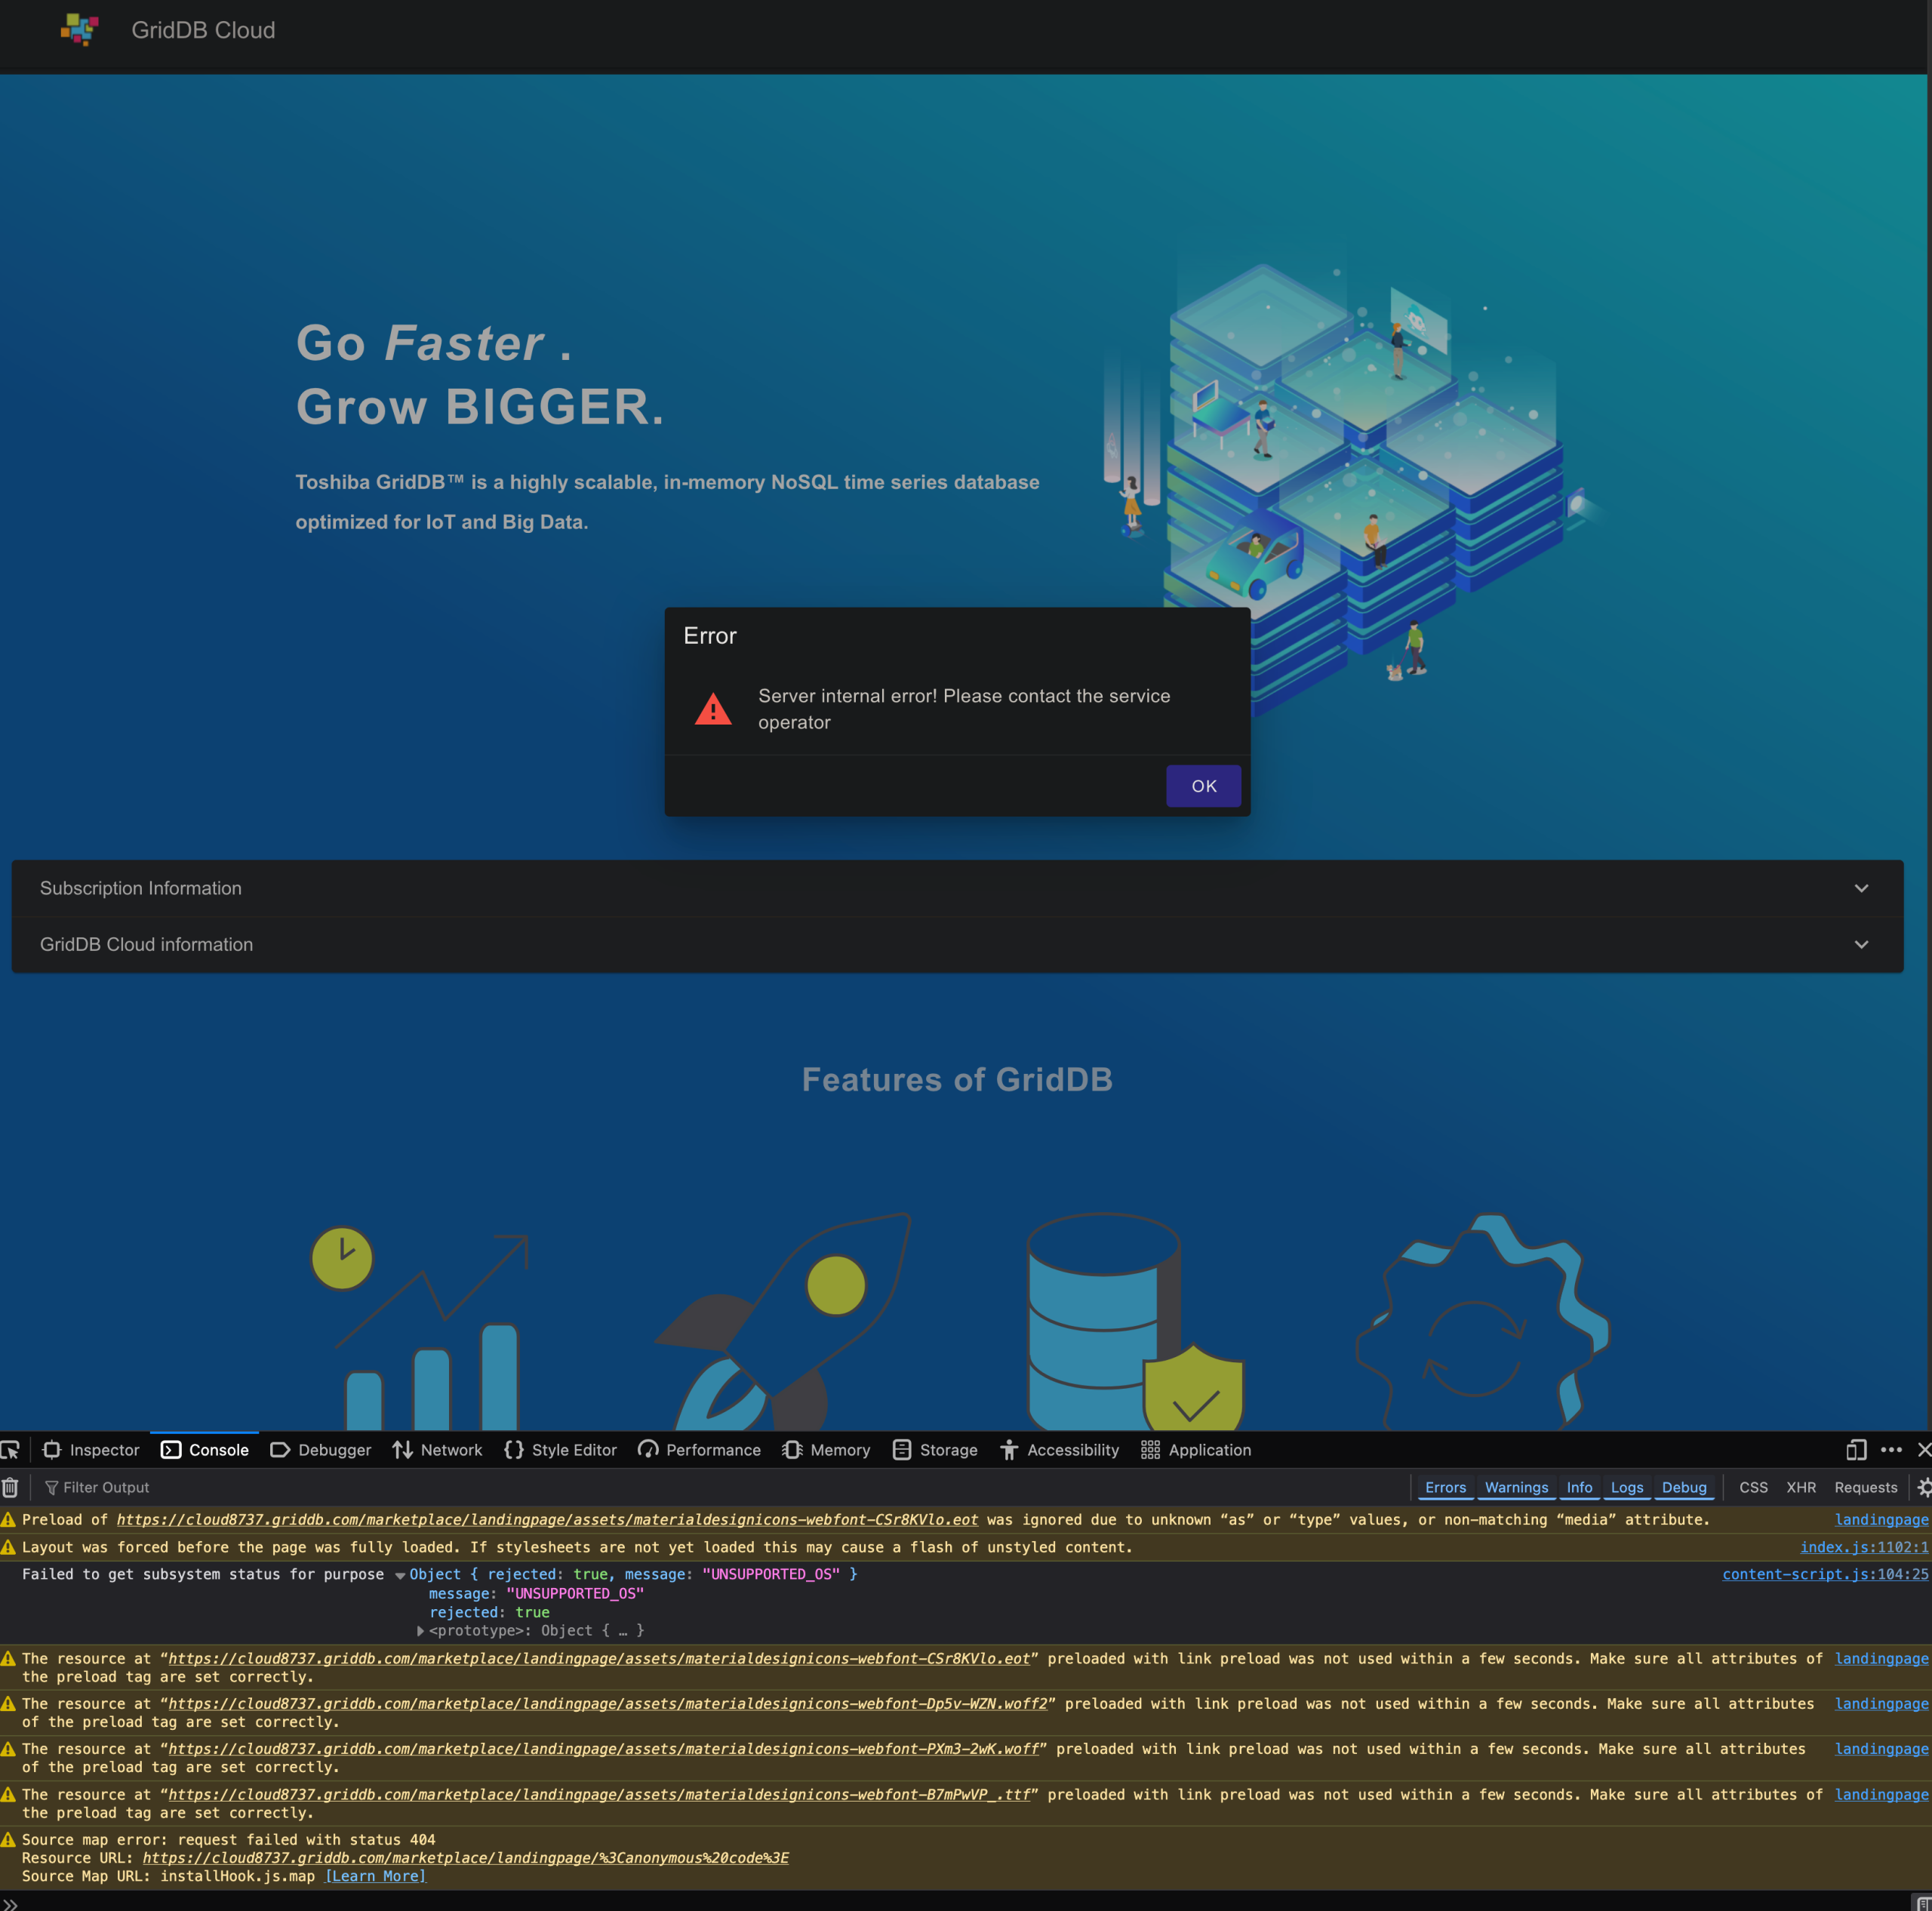
To get around it, find where your browser is blocking the pop up (it should be immediately easy to see), and then click allow. It will then ask for some Azure -> GridDB Cloud permissions to be accepted.
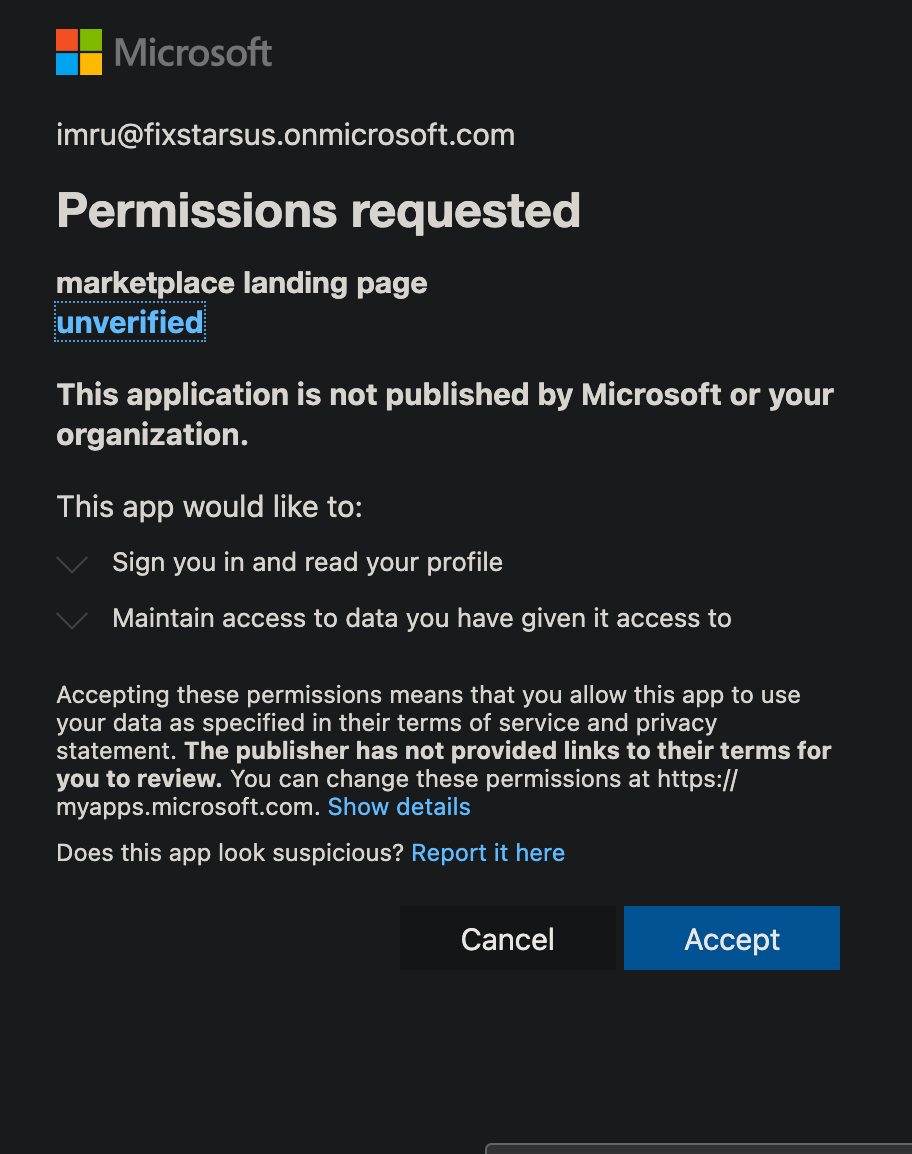
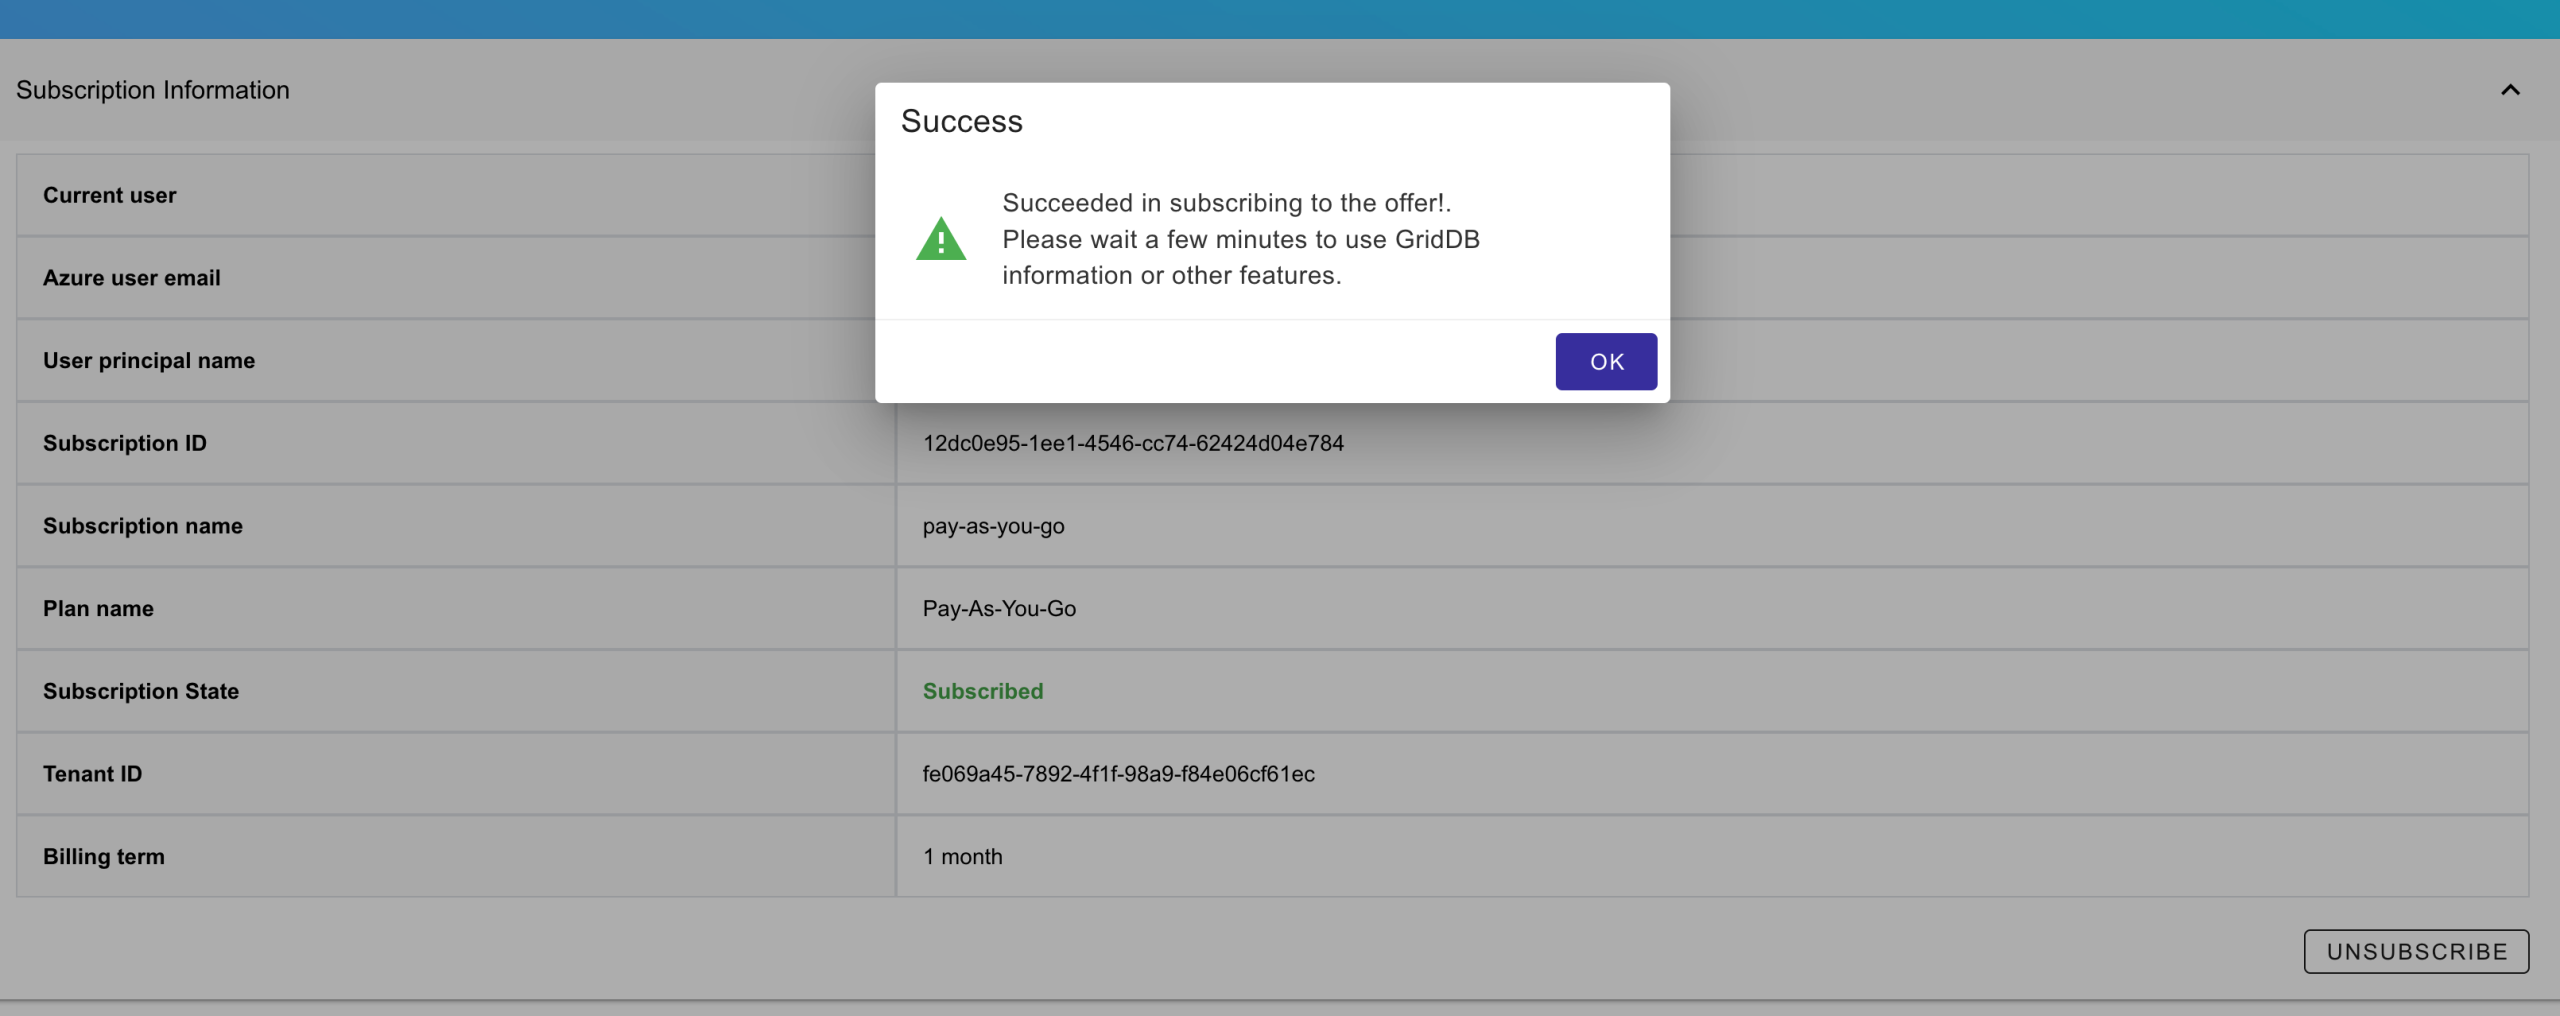
Once accepted, your subscription will begin being fulfilled:
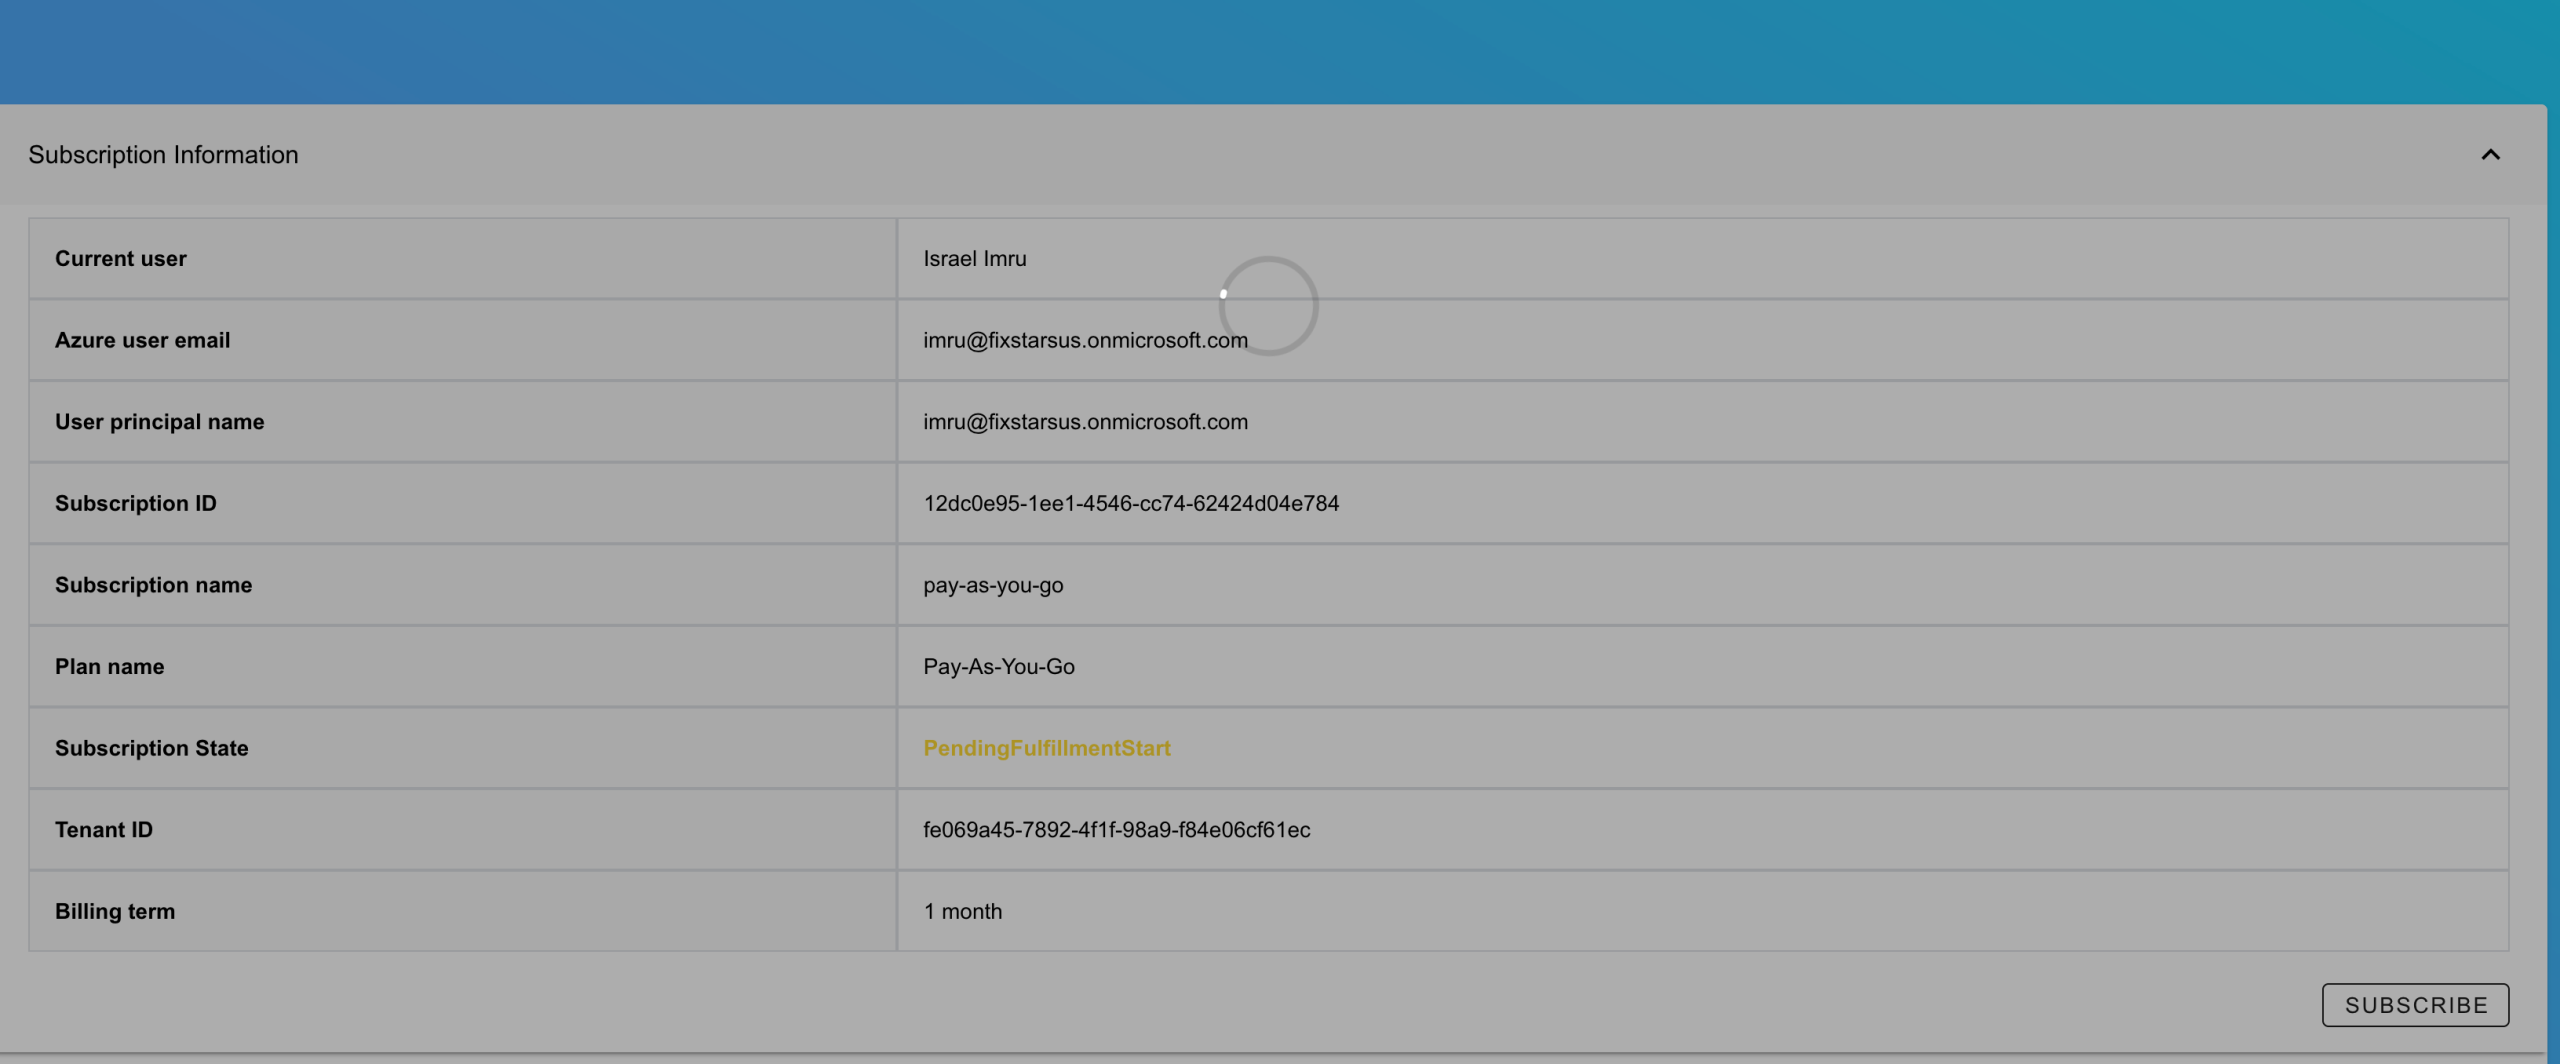 And then once finished:
And now, in that GridDB Cloud splash page, you will have access to your GridDB Cloud information, such as the management GUI URL, as well as the user credentials.
Navigate to your Management GUI URL and enter your credentials. You should be now be logged in and greeted with your new Cloud dashboard
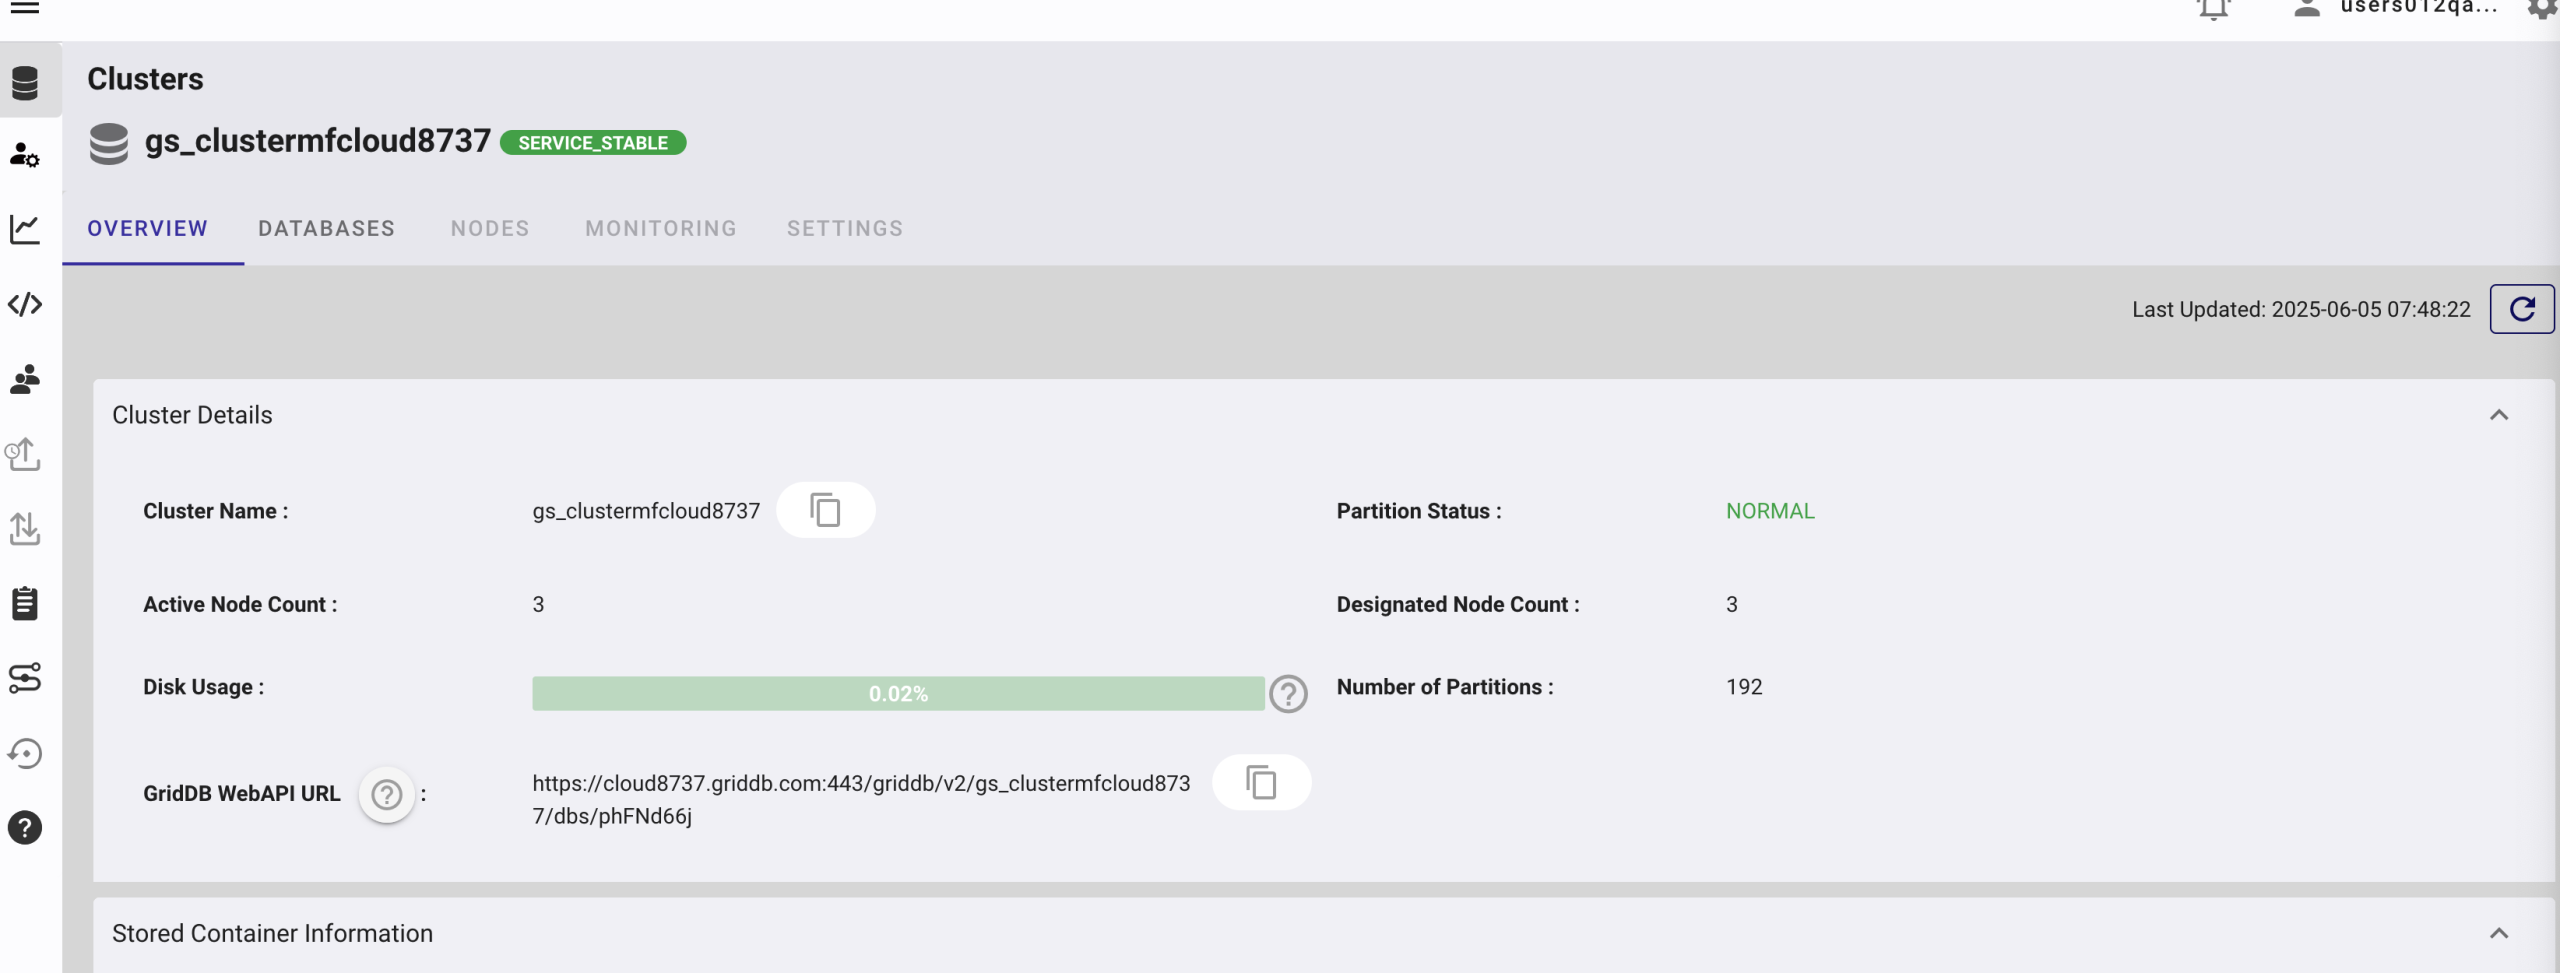
Congrats!
Next Steps
From this point, you have some branching options on what you can do next. First and foremost, I recommend you whitelist your current machine’s IP Address in the cloud dashboard as told in the GridDB Cloud Quickstart Guide: Whitelisting your IP Address and then I’d also recommend following the next step of creating a new db user and granting db access to that user. Next, you have some options:
-
GridDB Cloud Quickstart Guide: WebAPI checkConnection will give the most comprehensive overview of how to use the Web API and what commands are available. This guide has lots of working examples of creating containers/tables, adding data, querying containers, etc. It shows examples using curl, python, and nodejs. It also briefly touches on what the API Endpoints look like and the general structure of how they look. A very good place to start!
-
GridDB CLI Tool is a tool we wrote which helps to interact with the cloud-based dashboard. Because all commands are through HTTP Requests and must include basic authentication and some other headers, this tool aims to simplifiy the process of making these calls with simpler syntax. Also includes interactive container creation and CSV ingestion. Very helpful once familiar with the Cloud usage.
-
How to Utilize GridDB Cloud as the Backend to your No Code Bubble App is a blog which shows you how to make web request calls and utilize GridDB Cloud as your backend for a ‘no code’ frontend solution
-
Pairing GridDB Cloud with Grafana Cloud will showcase pairing GridDB Cloud with another popular third party cloud-based implementation of Grafana. With these two paired together, you can visualize all sorts of intricate data trends — cool!
-
Monitoring Air Quality in California using Home Assistant, Raspberry Pi, and GridDB Cloud showcases using GridDB Cloud in a more local setting. It teaches you how to use GridDB Cloud in your smart home to gather your sensor data and make use of it to send alerts to the inhabitants.
Conclusion
And with that, we have shown how easy it is to sign up for the new Azure-based GridDB Cloud shared instance and similar of a process usage will be! We also did some rough math to estimate which plan might be best for you and your stage of data; and though the instructions for this process was shown for the Pay-As-You-Go plan, the steps are the exact same for Monthly Commitment Plan
If you have any questions about the blog, please create a Stack Overflow post here https://stackoverflow.com/questions/ask?tags=griddb .
Make sure that you use the “griddb” tag so our engineers can quickly reply to your questions.