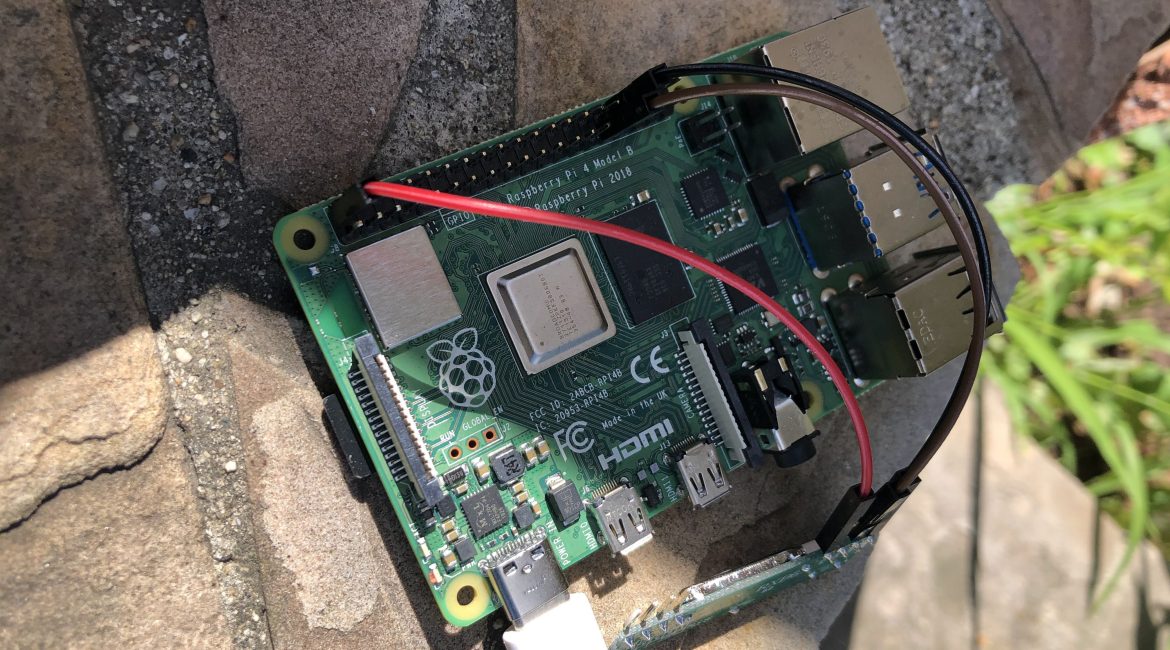
In this blog post, we’ll demonstrate how to build GridDB for 64-bit ARM and run it on a Raspberry Pi 3 or 4 running Ubuntu Server 18.04. In many use cases, it makes sense to store time series data in a NoSQL database at the edge of an IoT solution. Low-cost, low-power ARM devices are an excellent method of achieving this.
First, why Ubuntu Server 18.04? Well, Ubuntu Server 18.04 is the only Linux distribution for Pi 3 or Pi 4 that was 64-bit and had GCC 4.8 packages, two things GridDB needs. It can be downloaded from here and installed easily with Raspberry Pi Imager as a custom image.
Build the Server on Raspberry Pi
Next, with Ubuntu 18.04 installed and running on your Pi, we can install the build dependencies:
$ apt-get -y install gcc-4.8 g++-4.8 build-essential git tcl tk ant libz-dev autoconf automake
There are fixes for ARM not in the main GridDB git repository that are in the griddbnet/griddb_arm fork.
$ git clone https://github.com/griddbnet/griddb_arm.git
Now, we can build the server:
$ cd griddb_arm
 $ ./bootstrap.sh
 $ CC=gcc-4.8 CXX=g++-4.8 ./configure
 $ make
Start GridDB, Build and Run the Java Sample
With the build complete, we simply follow the README to start GridDB and run the Java sample.
Configure the server:
$ export GS_HOME=$PWD
 $ export GS_LOG=$PWD/log
 $ export PATH=${PATH}:$GS_HOME/bin
$ bin/gs_passwd admin -p admin
 $ sed  sed -i -e s/""/"defaultCluster"/ conf/gs_cluster.json
Start the server:
$ bin/gs_startnode
 $ bin/gs_joincluster -c defaultCluster -u admin/your_password
Build and run the sample program:
$ export CLASSPATH=${CLASSPATH}:$GS_HOME/bin/gridstore.jar
 $ mkdir gsSample
 $ cp $GS_HOME/docs/sample/program/Sample1.java gsSample/.
 $ javac gsSample/Sample1.java
 $ java gsSample/Sample1 239.0.0.1 31999 defaultCluster admin admin
  --> Person:  name=name02 status=false count=2 lob=[65, 66, 67, 68, 69, 70, 71, 72, 73, 74]
Build the C Client
Like the server, the C client requires a few small fixes to run on ARM and we build and install it using the instructions in the README:
$ git clone https://github.com/griddbnet/c_client_arm.git
 $ cd client/c
 $ ./bootstrap.sh
 $ ./configure
 $ make
 $ sudo make install
With that complete, you have GridDB running on your ARM-based Raspberry Pi 3 or 4. It’s also easy to build Python, NodeJS or other GridDB clients following the instructions to further enhance your experience.