Introduction
In this blog, we will showcase GridDB’s Java Database Connectivity (JDBC) connection abilities by pairing it with the popular JDBC Python module. The module in this instance, JayDeBeApi, allows for the developer to connect their Python codebase to JDBC; this means that the developer will no longer be tied down to using only Java when interfacing with their favorite database API. To get the obvious stuff out of the way, please make sure you have GridDB installed, along with the Python client.
Skip to the bottom for Docker installation instructions
Prerequisites
$ pip3 install griddb-python --user
After making sure your GridDB cluster is up and running, next up is downloading the GridDB JDBC driver itself. Instructions can be found here: blog
Here is a quick summary:
$ wget https://repo1.maven.org/maven2/com/github/griddb/gridstore-jdbc/4.5.0/gridstore-jdbc-4.5.0.jar
Installing JayDeBeApi
And now onto the main attraction. To install JayDeBeApi, we need to install the package itself, along with JPype1.
$ pip3 install JayDeBeApi --user
$ pip3 install JPype1==0.6.3 --user
If you followed the JDBC instructions from our previous blog, your CLASSPATH should already be pointing to the JDBC driver.
$ export CLASSPATH=${CLASSPATH}:/user/share/java/gridstore-jdbc-4.5.0.jar
Next up is running a sample to ensure that it’s properly connecting. So let’s run the sample included in the GridDB JDBC repository
As a note, please look at the code below. It is has a path to the gridstore-jdbc.jar file. You will need to change the path to point to your /usr/share/java directory.
import jaydebeapi
import sys

argv = sys.argv

multicast_address = argv[1] # default : 239.0.0.1
port_no = argv[2] # default : 41999
cluster_name = argv[3]
username = argv[4]
password = argv[5]

url = "jdbc:gs://" + multicast_address + ":" + port_no + "/" + cluster_name
conn = jaydebeapi.connect("com.toshiba.mwcloud.gs.sql.Driver",
    url, [username, password], "./gridstore-jdbc.jar")

curs = conn.cursor()

curs.execute("DROP TABLE IF EXISTS Sample")
curs.execute("CREATE TABLE IF NOT EXISTS Sample ( id integer PRIMARY KEY, value string )")
print('SQL Create Table name=Sample')
curs.execute("INSERT INTO Sample values (0, 'test0'),(1, 'test1'),(2, 'test2'),(3, 'test3'),(4, 'test4')")
print('SQL Insert')
curs.execute("SELECT * from Sample where ID > 2")
print(curs.fetchall())

curs.close()
conn.close()
print('success!')
$ cp jdbc/sample/en/python-db-api/DBAPISelect.py .
The sample code’s goal is simply to verify that you can run your Python code along with JDBC. Here, the Python code creates a container called Sample and inserts some data — again, just to verify everything is in working order.
Now actually run the sample python DBAPISelect.py
$ python3 DBAPISelect.py 239.0.0.1 41999 defaultCluster admin admin
SQL Create Table name=Sample
SQL Insert
[(3, 'test3'), (4, 'test4')]
success!
Congratulations, you can now interface with JDBC/GridDB with Python.
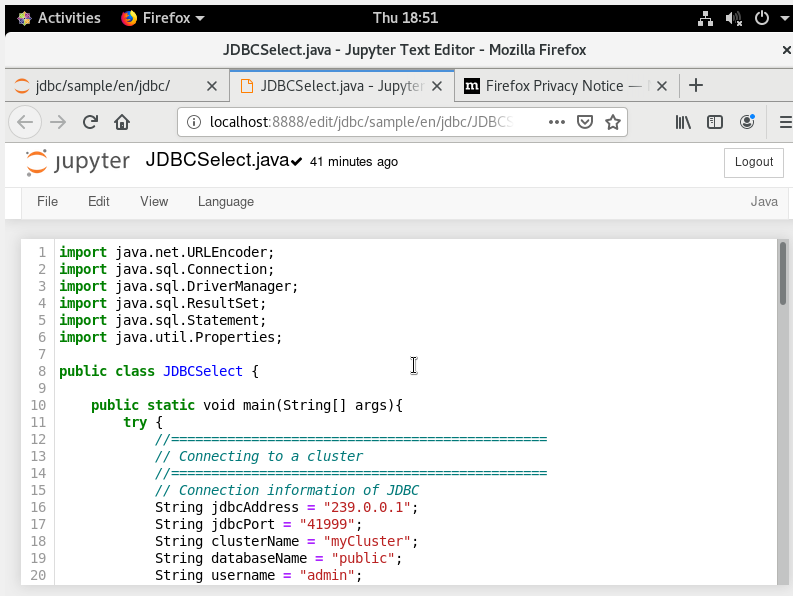
Use with Jupyter Notebook
Once you have jdbc up and running, you can easily install Jupyter Notebook to really make the whole experience a lot nicer.
$ pip3 install jupyterlab --user
Now simply open jupyter
$ jupyter notebook
And that’s it!
Docker
Update: We have received contribution from Mr. Rönsch that utilizes Docker Compose that allows for an even easier set up process. We encourage you to check out the quick start repo that he so kindly created to help the process: https://github.com/roenschg/griddb-jupyter-quikstart. This will allow you get up and running while also using GridDB v4.5.
Alternatively, you can use Docker to run JDBC and JayDeBeApi. The blog includes a container for both the GridDB server and the Python client (source files are at the bottom of the blog). If you decided to follow along with our previous blog, please make sure you update the Dockerfile to download the latest GridDB Server.
RUN rpm -Uvh https://github.com/griddb/griddb/releases/download/v4.5.0/griddb-4.5.0-1.linux.x86_64.rpm
 RUN yum -y install iproute
You will also need to change the start_griddb.sh script to update the notification address of the system (from 10080 –> 10040).
cat << EOF > /var/lib/gridstore/conf/gs_cluster.json
 {
        "dataStore":{
                "partitionNum":128,
                "storeBlockSize":"64KB"
        },
        "cluster":{
                "clusterName":"defaultCluster",
                "replicationNum":2,
                "notificationInterval":"5s",
                "heartbeatInterval":"5s",
                "loadbalanceCheckInterval":"180s",
                "notificationMember": [
                        {
                                "cluster": {"address":"$IP", "port":10010},
                                "sync": {"address":"$IP", "port":10020},
                                "system": {"address":"$IP", "port":10040}, #change here
                                "transaction": {"address":"$IP", "port":10001},
                                "sql": {"address":"$IP", "port":20001}
                       }
                ]
        },
        "sync":{
                "timeoutInterval":"30s"
        }
 }
 EOF
Once your GridDB server Docker container is running, you can grab its IP address with the following command:
$ docker inspect griddb-server | grep "IPAddress"
OR
$ CONT=`docker ps | grep griddb-server | awk '{ print $1 }'`; docker exec $CONT cat /etc/hosts | grep $CONT | awk '{ print $1 }'
Jupyter (Docker)
Here is how you can also install Jupyter via docker containers:
$ docker run --name jupyternotebook --network griddb-net -p 8888:8888 jupyter/scipy-notebook
Then, copy the url (http://127.0.0.1:8888/?token=xxxx) and paste it in your browser to start jupyter notebook.
Log in to your newly formed docker container:
$ docker exec -u 0 -it jupyternotebook /bin/bash
and run the following commands to install new dependencies:
$ apt update
$ apt install default-jre
$ wget https://repo1.maven.org/maven2/com/github/griddb/gridstore-jdbc/4.5.0/gridstore-jdbc-4.5.0.jar
$ cp gridstore-jdbc-4.5.0.jar /usr/share/java/
$ pip install jaydebeapi
And now you can finish up the rest of the instructions via Jupyter in your browser. First, import necessary libraries:
import pandas as pd
 import jaydebeapi
Make connection to the GridDB container:
conn = jaydebeapi.connect("com.toshiba.mwcloud.gs.sql.Driver",
                           "jdbc:gs:///defaultCluster/public?notificationMember:127.0.0.1:20001",
                           ["admin", "admin"],
                          "/usr/share/java/gridstore-jdbc.jar",)
Create time series table/container and query via JDBC
curs = conn.cursor()
 curs.execute('CREATE TABLE Sensor1(datetime TIMESTAMP PRIMARY KEY, payload FLOAT)
 curs.execute("INSERT into Sensor1 values (now(), 45.6)")
 curs.execute("SELECT * FROM Sensor1")
 curs.fetchall()
 curs.close()
 conn.close()
You can also use the pandas library:
sql = ("SELECT * FROM Sensor1";)
 sql_query = pd_read_sql_query(sql, conn)
 sql_query
Conclusion
We have provided for you two different methods of installing and using Jupyter and JayDeBeApi along with your GridDB server for more methods of interfacing with the time series database.