
We have already discussed some of the changes that were released with GridDB Cloud v1.2 in a previous blog, but in this one, we would like to showcase the new Power BI integration.
Power BI “is a collection of software services, apps, and connectors that work together to turn your unrelated sources of data into coherent, visually immersive, and interactive insights”. Essentially, this Microsoft application can aggregate your data from various sources (ie. excel, GridDB Cloud, etc.) and allow you to visualize all of this data in one singular graphic. And the visualizations produced are stunning.
Connecting GridDB Cloud
There are a variety of methods which we can use to display your GridDB Cloud Data into your Power BI application. We will go through of the following methods step-by-step: Custom Query, File, ODBC, On-Premise Data Gateway.
Custom Query
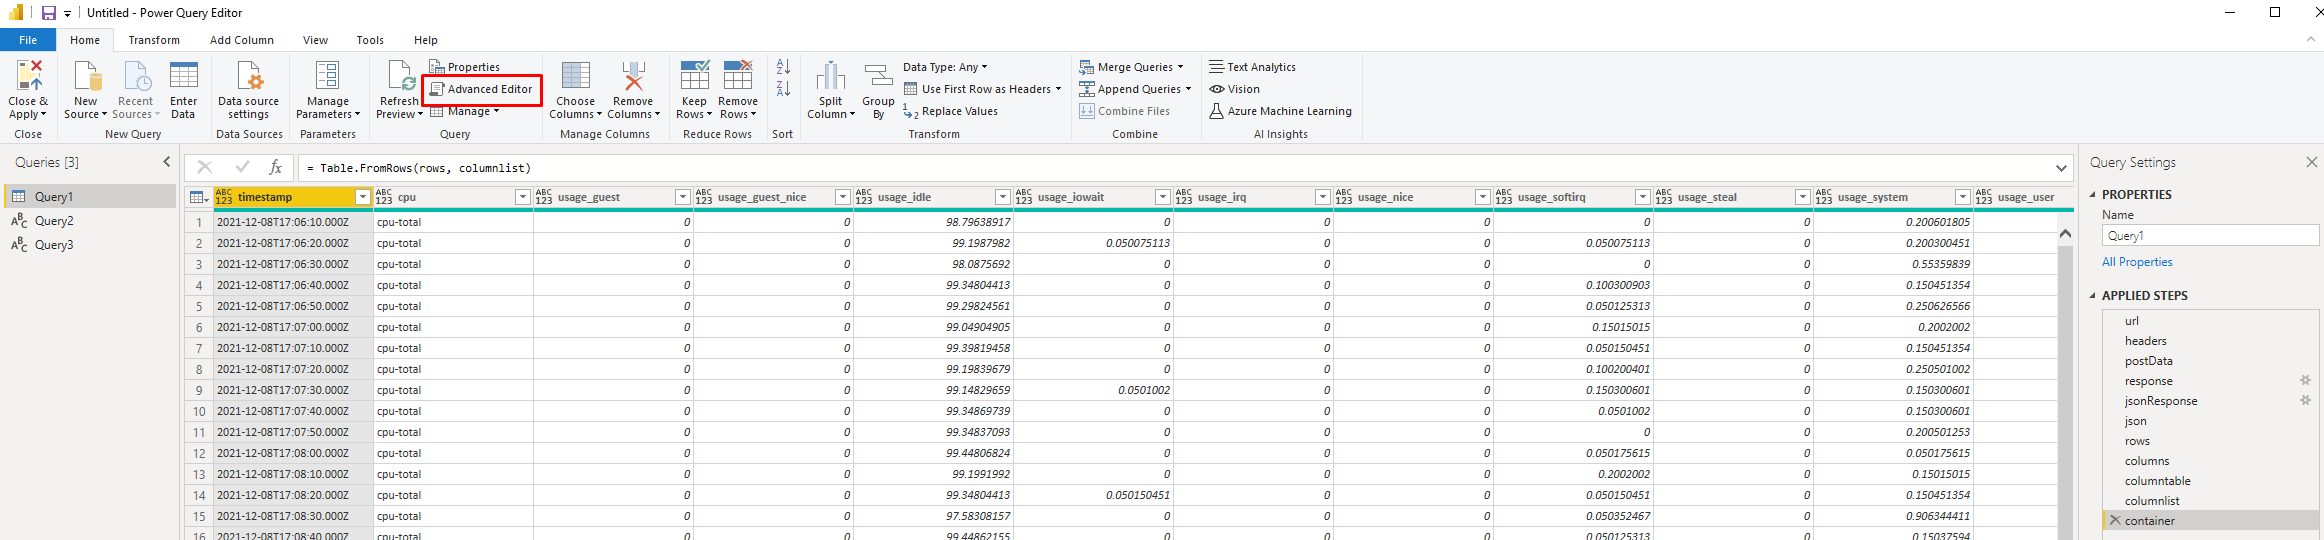
To start with a custom query, first select the Get Data tab within Power BI and select the Blank Query option. This will open up a new window.
![]()
Within this window, select the Advanced Editor.
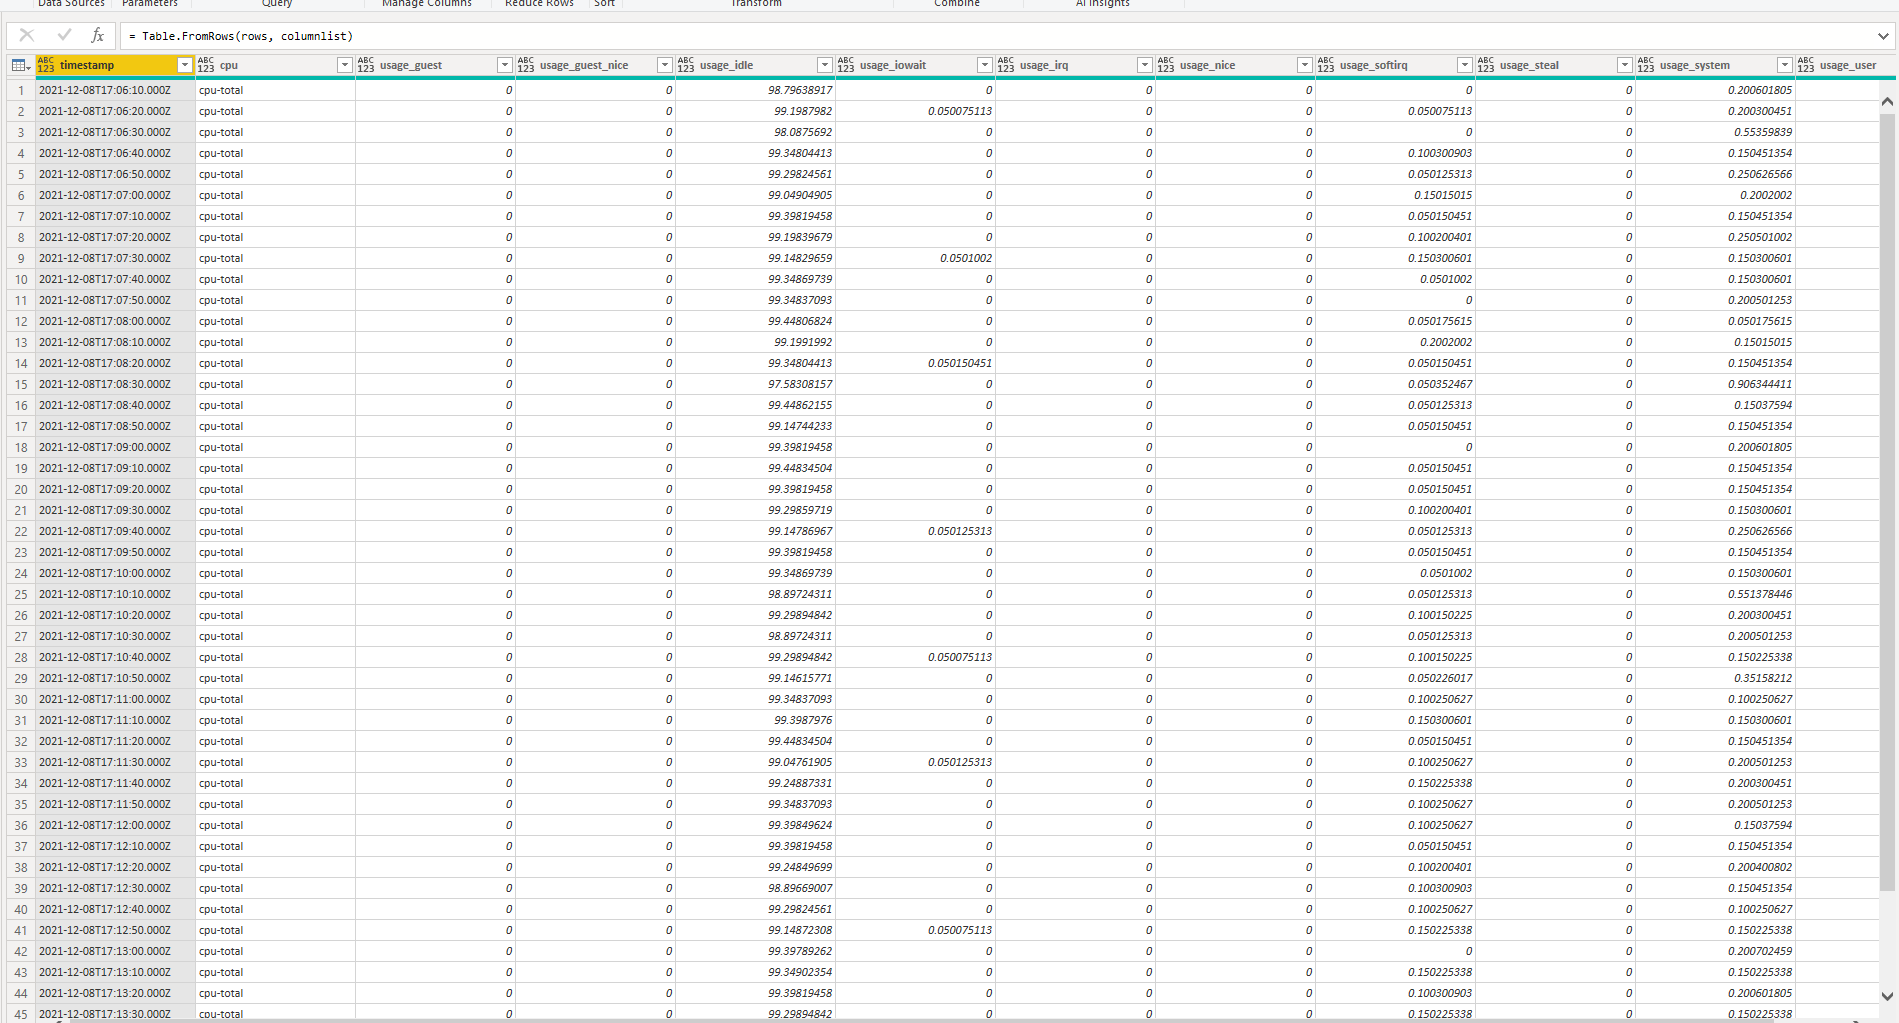
This editor will allow you to create a new custom query with anything you want. This is where you can query your GridDB Cloud instance directly. This is the template:
let
    url = "{URL}/{clusterName}/dbs/{DB NAME}/sql",
    headers = [#"Content-Type" = "application/json; charset=UTF-8", #"Authorization" = "{User/Password}"],
    postData = Text.ToBinary("[{""type"":""sql-select"", ""stmt"":""{SQL STATEMENT}""}]"),
    response = Web.Contents(
        url,
        [
            Headers = headers,
            Content = postData
        ]
    ),
    jsonResponse = Json.Document(response),
    json = jsonResponse{0},
    rows = json[results],
    columns = json[columns],
    columntable = Table.FromRecords(columns),
    columnlist = Table.ToList(Table.SelectColumns(columntable, "name")),
    container = Table.FromRows(rows, columnlist)
in
    container
So, with all the info filled out, this is how mine looked:

let
    url = "<myurl>",
    headers = [#"Content-Type" = "application/json; charset=UTF-8", #"Authorization" = "Basic aXNyYWVsOkdyaOb1NRTA=="],
    postData = Text.ToBinary("[{""type"":""sql-select"", ""stmt"":""SELECT * FROM cpu""}]"),
    response = Web.Contents(
        url,
        [
            Headers = headers,
            Content = postData
        ]
    ),
    jsonResponse = Json.Document(response),
    json = jsonResponse{0},
    rows = json[results],
    columns = json[columns],
    columntable = Table.FromRecords(columns),
    columnlist = Table.ToList(Table.SelectColumns(columntable, "name")),
    container = Table.FromRows(rows, columnlist)
in
    container</myurl>
The container cpu is data received from the GridDB Telegraf output plugin discussed in our previous blog.
Once you have this query set in, it should retrieve all of the data in your selected SQL statement. Once you confirm it’s there, simply select Close And Apply.
File Import (CSV)
To begin with a file import, you must first export the container you would like to import into Power BI from the GridDB Cloud dashboard.
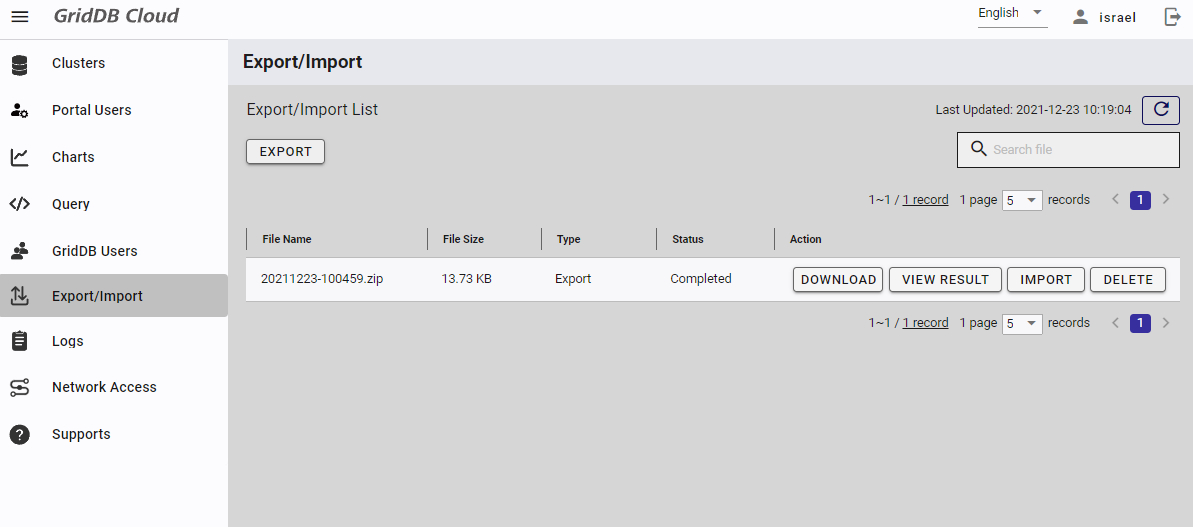
Once exported, you can download a zip of your container which will contain a .csv file of your container’s contents. From here, you will need to open up and use the Windows Powershell.
So in your powershell, navigate over to the location/directory of your .csv file and input this command:
$TARGET_CSV=Get-ChildItem <.csv file name inside directory>
And then run these:
$CURRENT_PATH=(Convert-Path .)
$JSON_DATA=ConvertFrom-Json -InputObject (Get-Content -Path ((($TARGET_CSV).BaseName) + "_properties.json") -Raw)
$COL_NAME=$JSON_DATA.columnSet | ForEach-Object { $_.columnName }
$CSV=Import-Csv -Path $TARGET_CSV -Header $COL_NAME | Select-Object -Skip 4
$CSV | Export-Csv -Path ($CURRENT_PATH + "Convert_" + ($TARGET_CSV.Name)) -Encoding Default -NoTypeInformation
These commands will produce a file inside your working directory with the same file name as your original .csv file, but with a Converted_ amended to the front of the file name.
So now it’s simply a matter of heading into Power BI, selecting get Data, and selecting TEXT/CSV and pointing to your newly made .csv file.
ODBC
What is ODBC?
Open Database Connectivity (ODBC) is “a standard API for accessing database management systems”. Specifically for this use case, we will be connecting our Windows machine to our GridDB Cloud instance via this standard, and from there, will be connecting to Power BI.
To start, we will need to utilize connecting our GridDB Cloud using v-net peering. We discuss this process at length in our Introduction to GridDB Cloud blog.
Setting Up ODBC With A Windows Virtual Machine
Once you confirm that your Azure resource group can successfully connect to your GridDB Cloud instance, the next step is to set up a Windows VM which we will use to run our Power BI Application. Setting up the Windows VM is straight forward, the only thing is you need to make sure that it is in the same resource group and shares a virtual-net with one that has enabled peering with the GridDB Cloud instance.
Once inside the VM, you can download the software package located in the GridDB Cloud support section (the question mark icon). To start, we will be installing the GridDB ODBC connector. Luckily, this is a very simple step. You simply navigate into the 64-bit ODBC directory and run the GridStoreODBC_64bit_setup.bat as administrator. This script will copy over the files from that directory into C:Program FilesTOSHIBAGridStorebin.
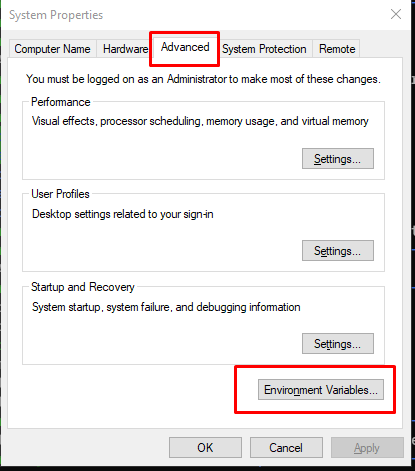
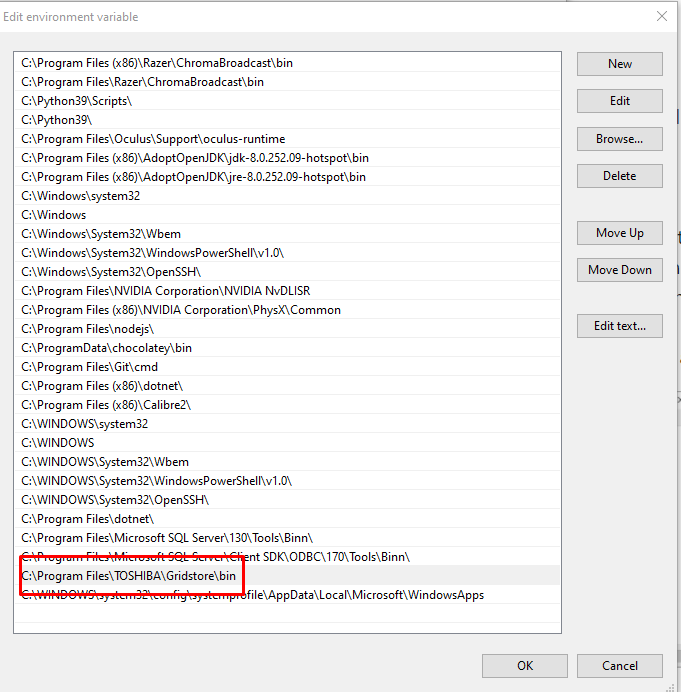
Next, head into your System Properties Advanced section to edit your system environment variables. An easy method of getting here is to search “SystemPropertiesAdvanced.exe” and running that program. Locate the environment Variables button in the advanced tab and edit the PATH. Simply create a new line in the PATH to point directly to your newly installed files directory (C:Program FilesTOSHIBAGridStorebin).
Registering ODBC AS A Data Source
The first step will be to set up the ODBC as a System DSN. To do so, you can search for “ODBC” in your Windows and run the ODBC Data Source Administrator (64-bit). A small note: you can use the 32-bit version of this, but if you would like to utilize the on-premise gateway, you should use the 64-bit architecture — more on this later.
Select the System DSN Tab and click the Add... button.
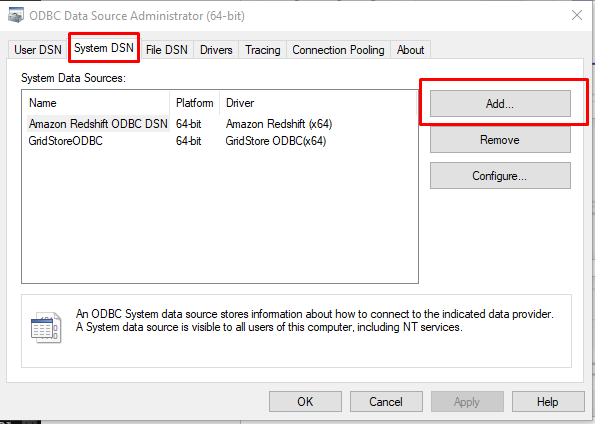
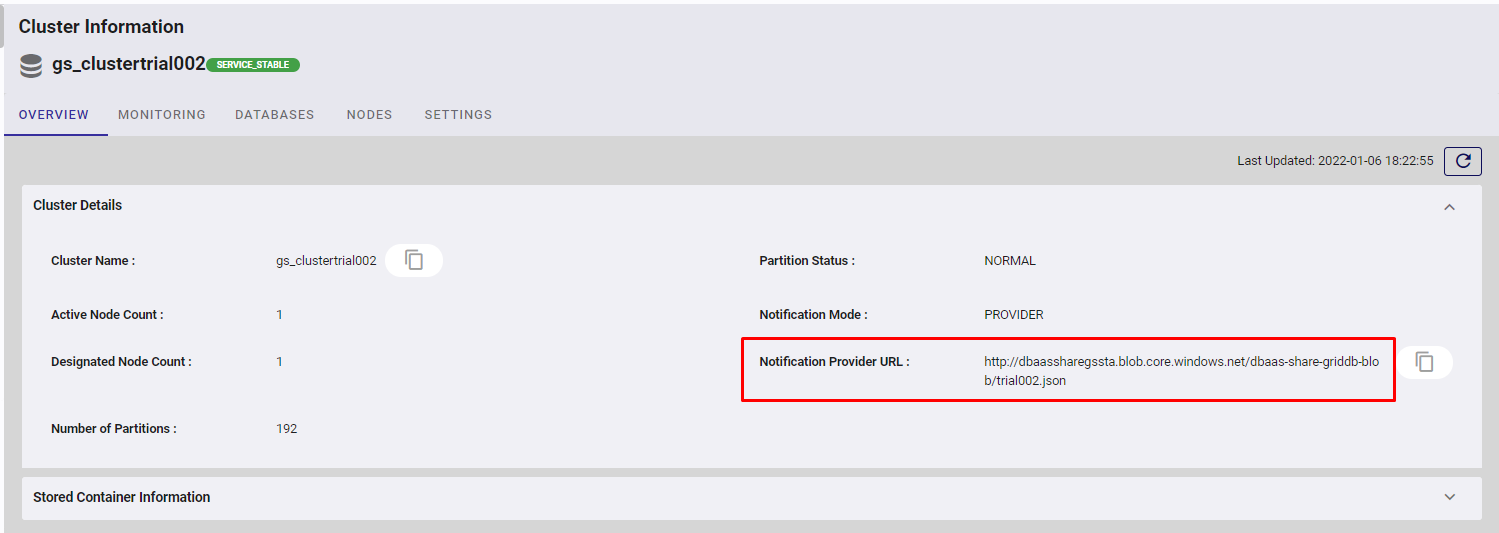
Select the GridStore ODBC and enter your credentials. You can find the destination directly on your GridDB Cloud Dashboard.
If all goes well, you should get a “Connected” prompt.
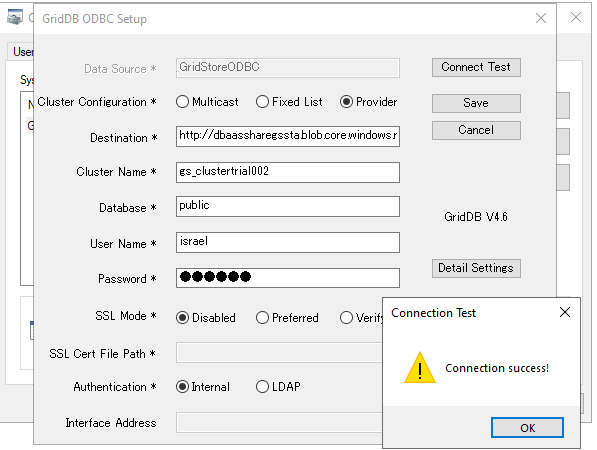
If you encounter any sort of issues here, please check that your system environment PATH has been updated. If it still doesn’t work, it may need a full system reboot to ensure the system variables are actually updated.
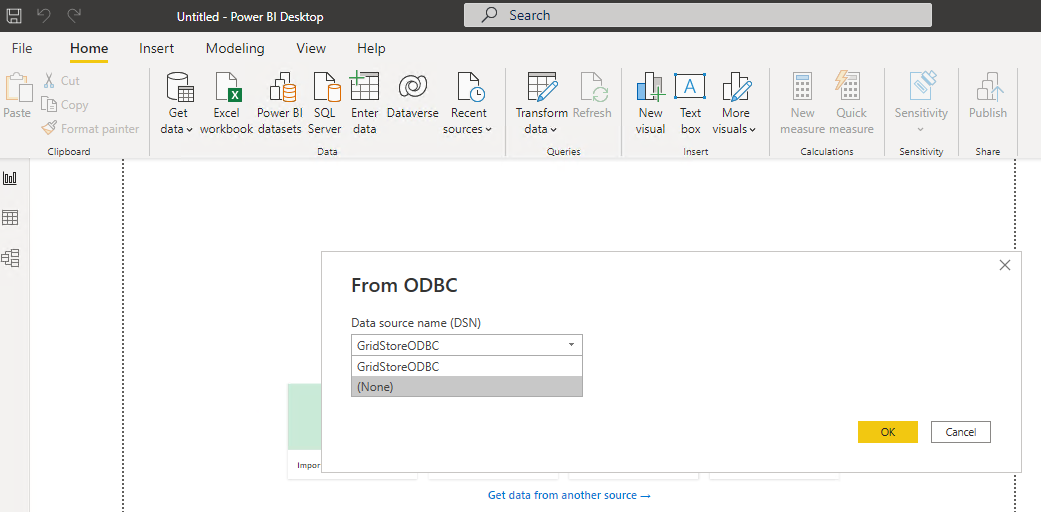
Once connected, we can use ODBC as a data source in our Power BI App. So, open up the app and select Get Data –> More –> ODBC.
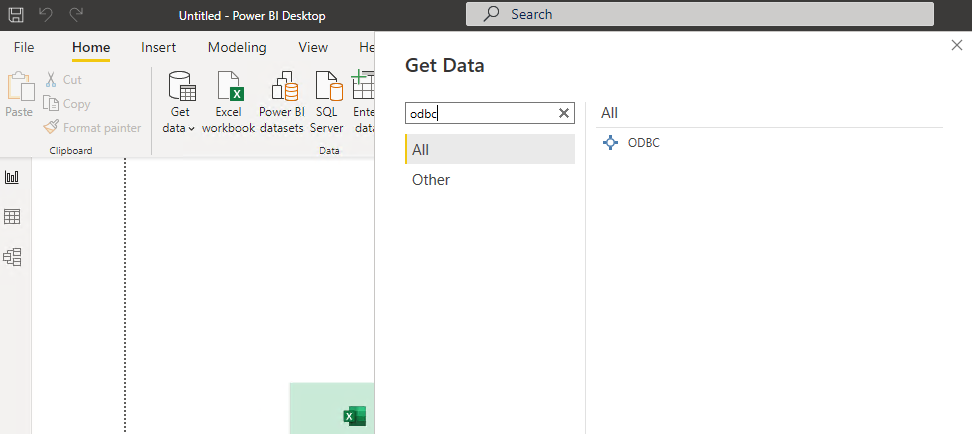
Your newly made ODBC GridDB Cloud connection should be in the dropdown list. Select this and then select the containers you would like to visualize.
On-Premise Data Gateway
Installing On-Premise Data Gateway and Power BI Service
The on-premise data gateway builds upon the connection we have already established with the ODBC. To get started, you will need to download the software from Microsoft’s On-Premise Docs Page.
Before you get started, you will need to sign up for a Power BI Service account. This will allow you to share data sources via a web portal.
Now that we have all the prereqs out of the way, we can get started. First, you will need to install the gateway onto your machine. This step is very easy as the installation wizard from the .exe file will handle guide you through the process. Once it is up and running, we can move on to our Power BI application.
Registering Dataset Into Power BI Service
Within the Power BI app, sign in to the same account as your Power BI Account using the top right button. Now, use your ODBC data source and load up a dataset. Next, save your Power BI file and then from the home tab, select Publish. Select “my workspace” and click “Open filename.pbix” to launch your Power BI Service portal in your browser.
Within the portal, click the gear icon, Settings, and then head Manage Gateway. You can create a new gateway here, but don’t need to add a data source yet.
Then, click the gear icon again, but this time select Settings, and then head over to the dataset section. This section will have the dataset your saved and published from your Power BI Application on your desktop. From the Actions section, expand the toggle button and view the data sources and select the Add to gateway link.
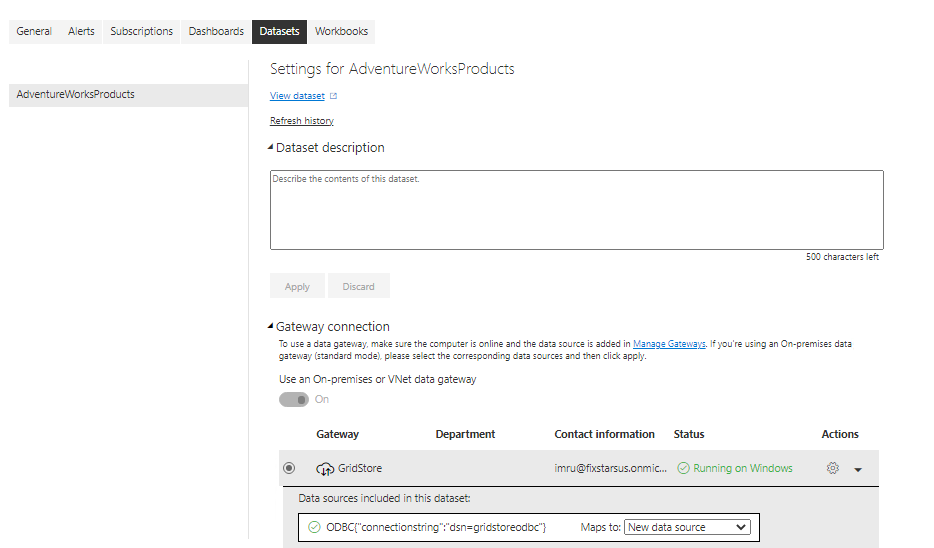
Enter in your information such as connection string (dsn=<ODBC Name>) and Auth as Basic (with your GridDB Cloud User and Password).
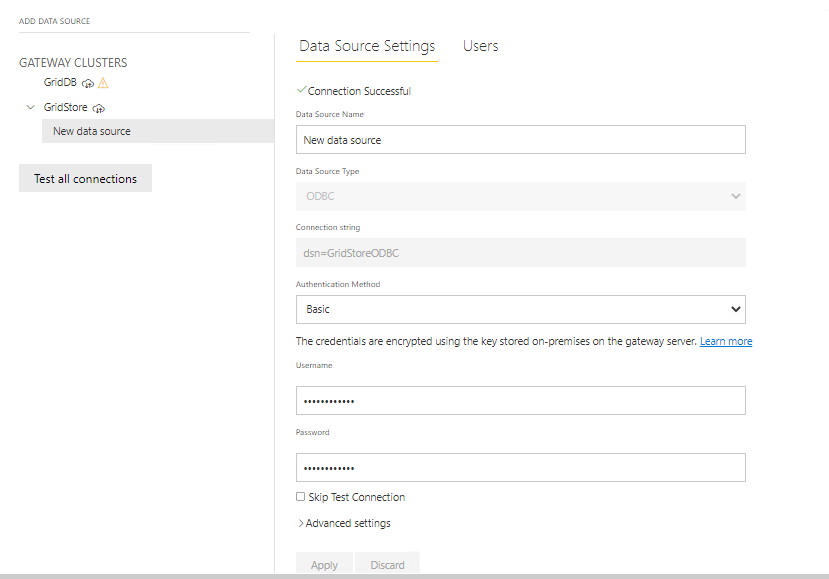
Once that’s all entered, your data source should now be available for use in the Power BI Portal.
Visualizing Data
Now that you’ve got your data into Power BI, you can visualize your data directly in the application.
But before we begin, we will need to make a small change in our data’s format. By default, all of the columns gathered up by our query is set to a STRING format. This means that when attempting to use the values in any sort of visualization, you get strange behavior, namely that the application will only allow for you to use the value as a COUNT.
To fix this, click the TRANSFORM DATA button in the home tab on top. From there, it’s simply matter of click the format icon next to each column name:
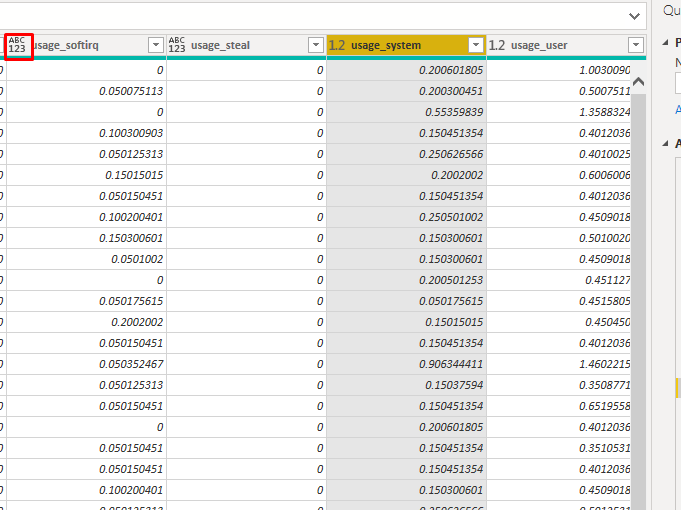
For my case, I set the format to Decimal Number.
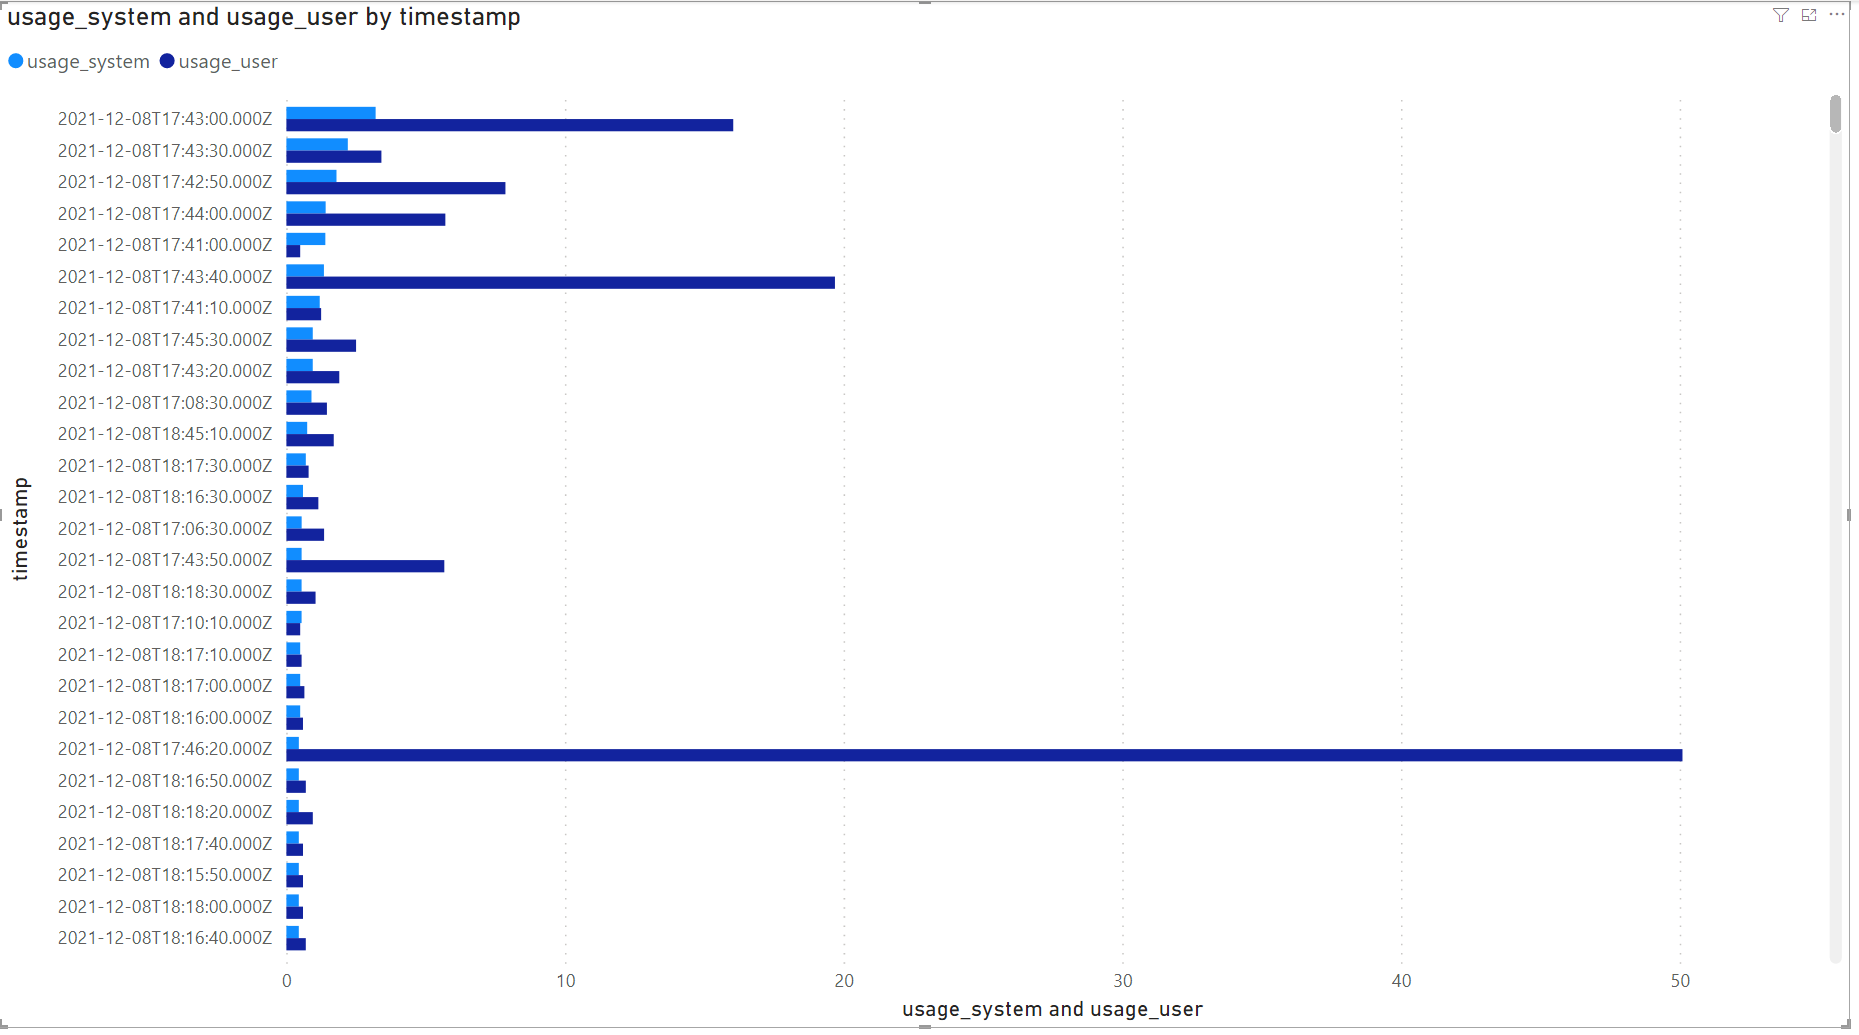
And now let’s visualize our data. For this one, I set the axis to TimeStamp and the values to Usage_system and Usage_user. Here is a clustered bar chart of this data:
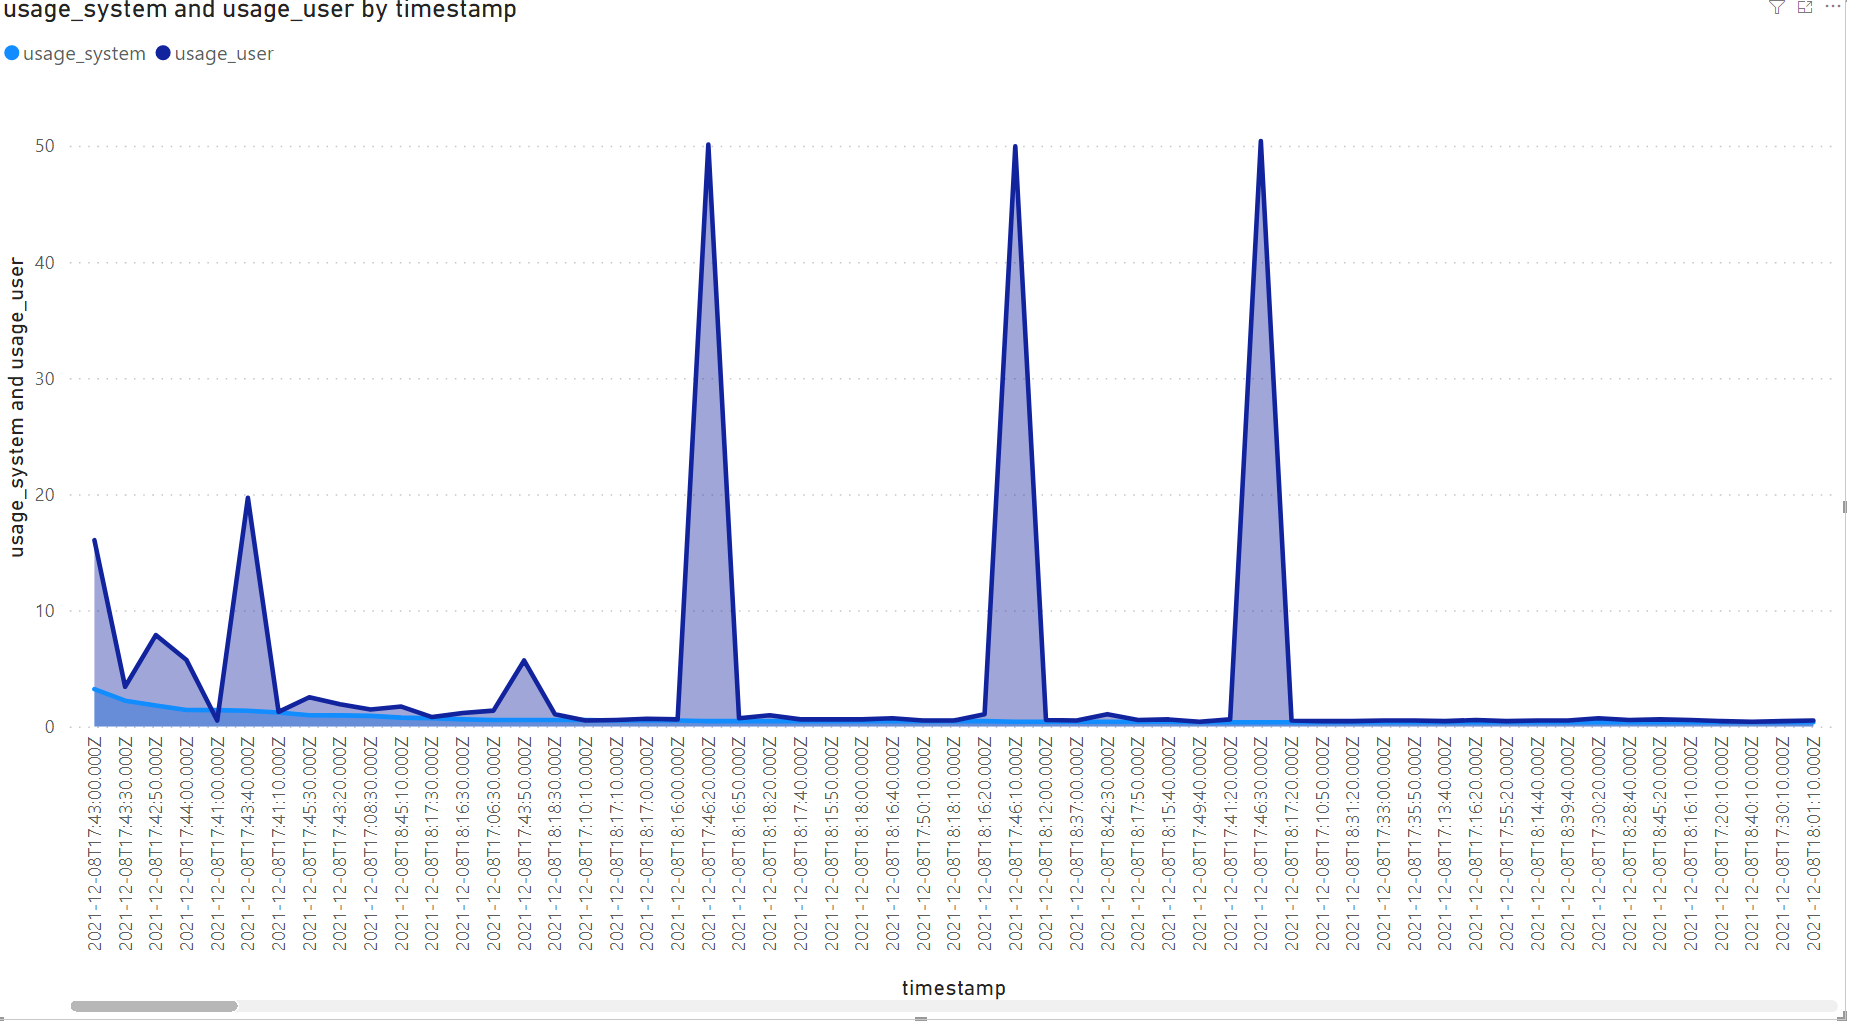
And here is an area chart:
Conclusion
If you would like to aggregate disparate data sources and visualize them in an easy-to-read sort of way, the Power BI custom query to gather your GridDB Cloud data could be very helpful. If you would like to sign up for a trial of the GridDB Cloud, you can do so here: https://www.global.toshiba/ww/products-solutions/ai-iot/griddb/product/griddb-cloud.html